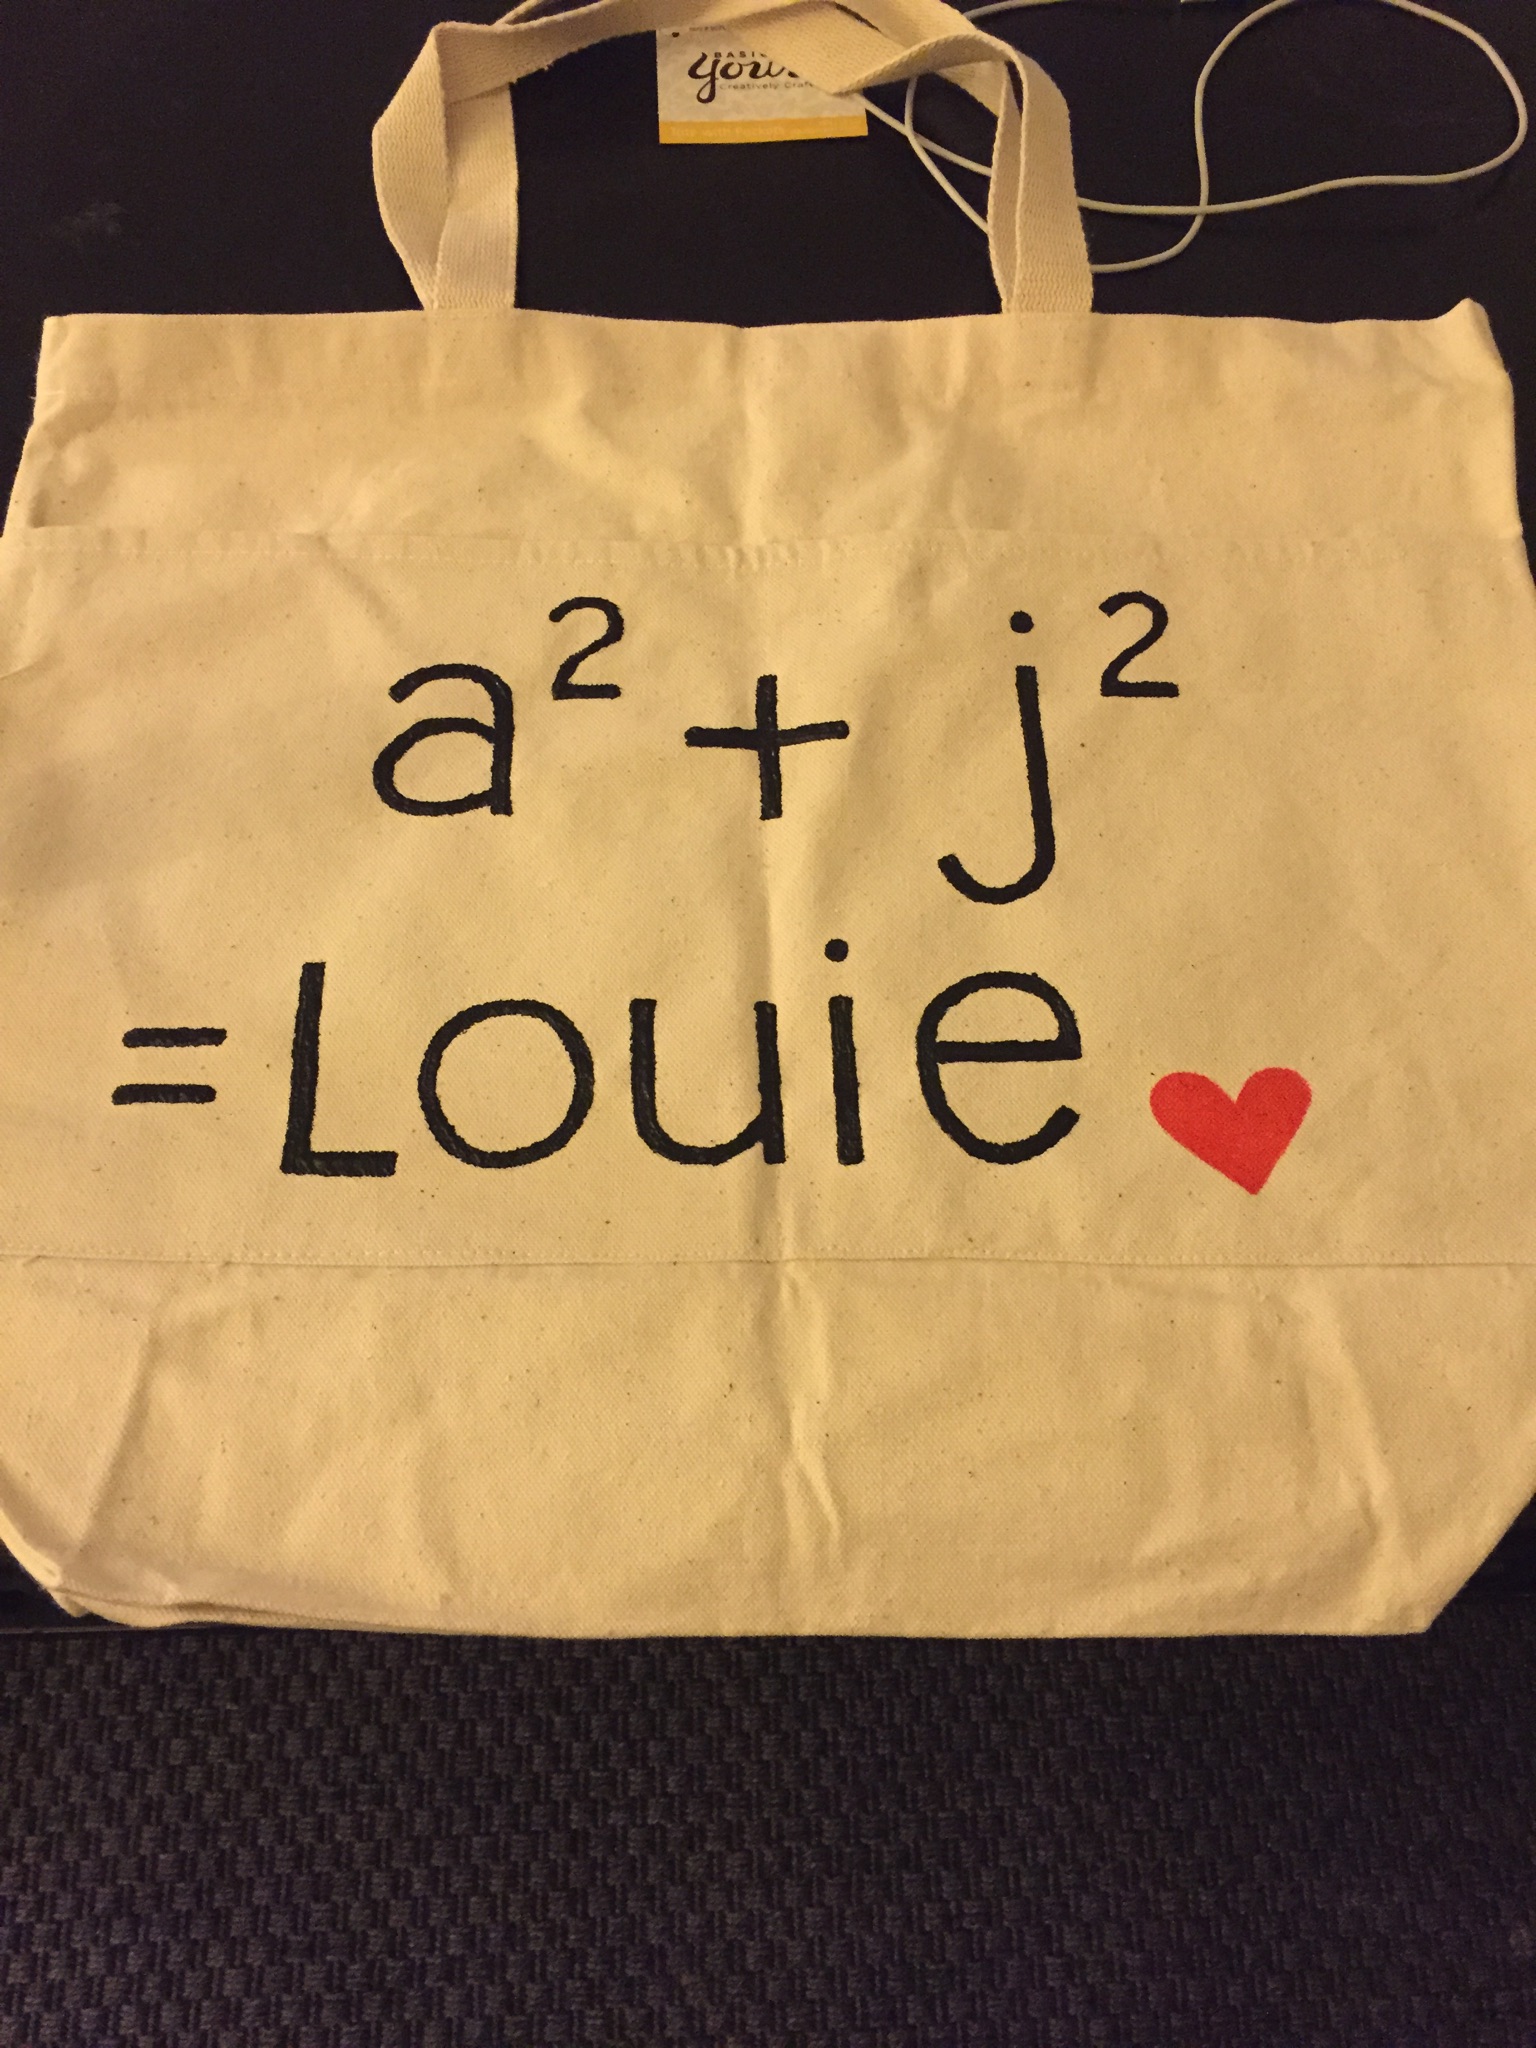
It’s wedding planning season so I thought I’d document some of my favorite DIY elements of our wedding.
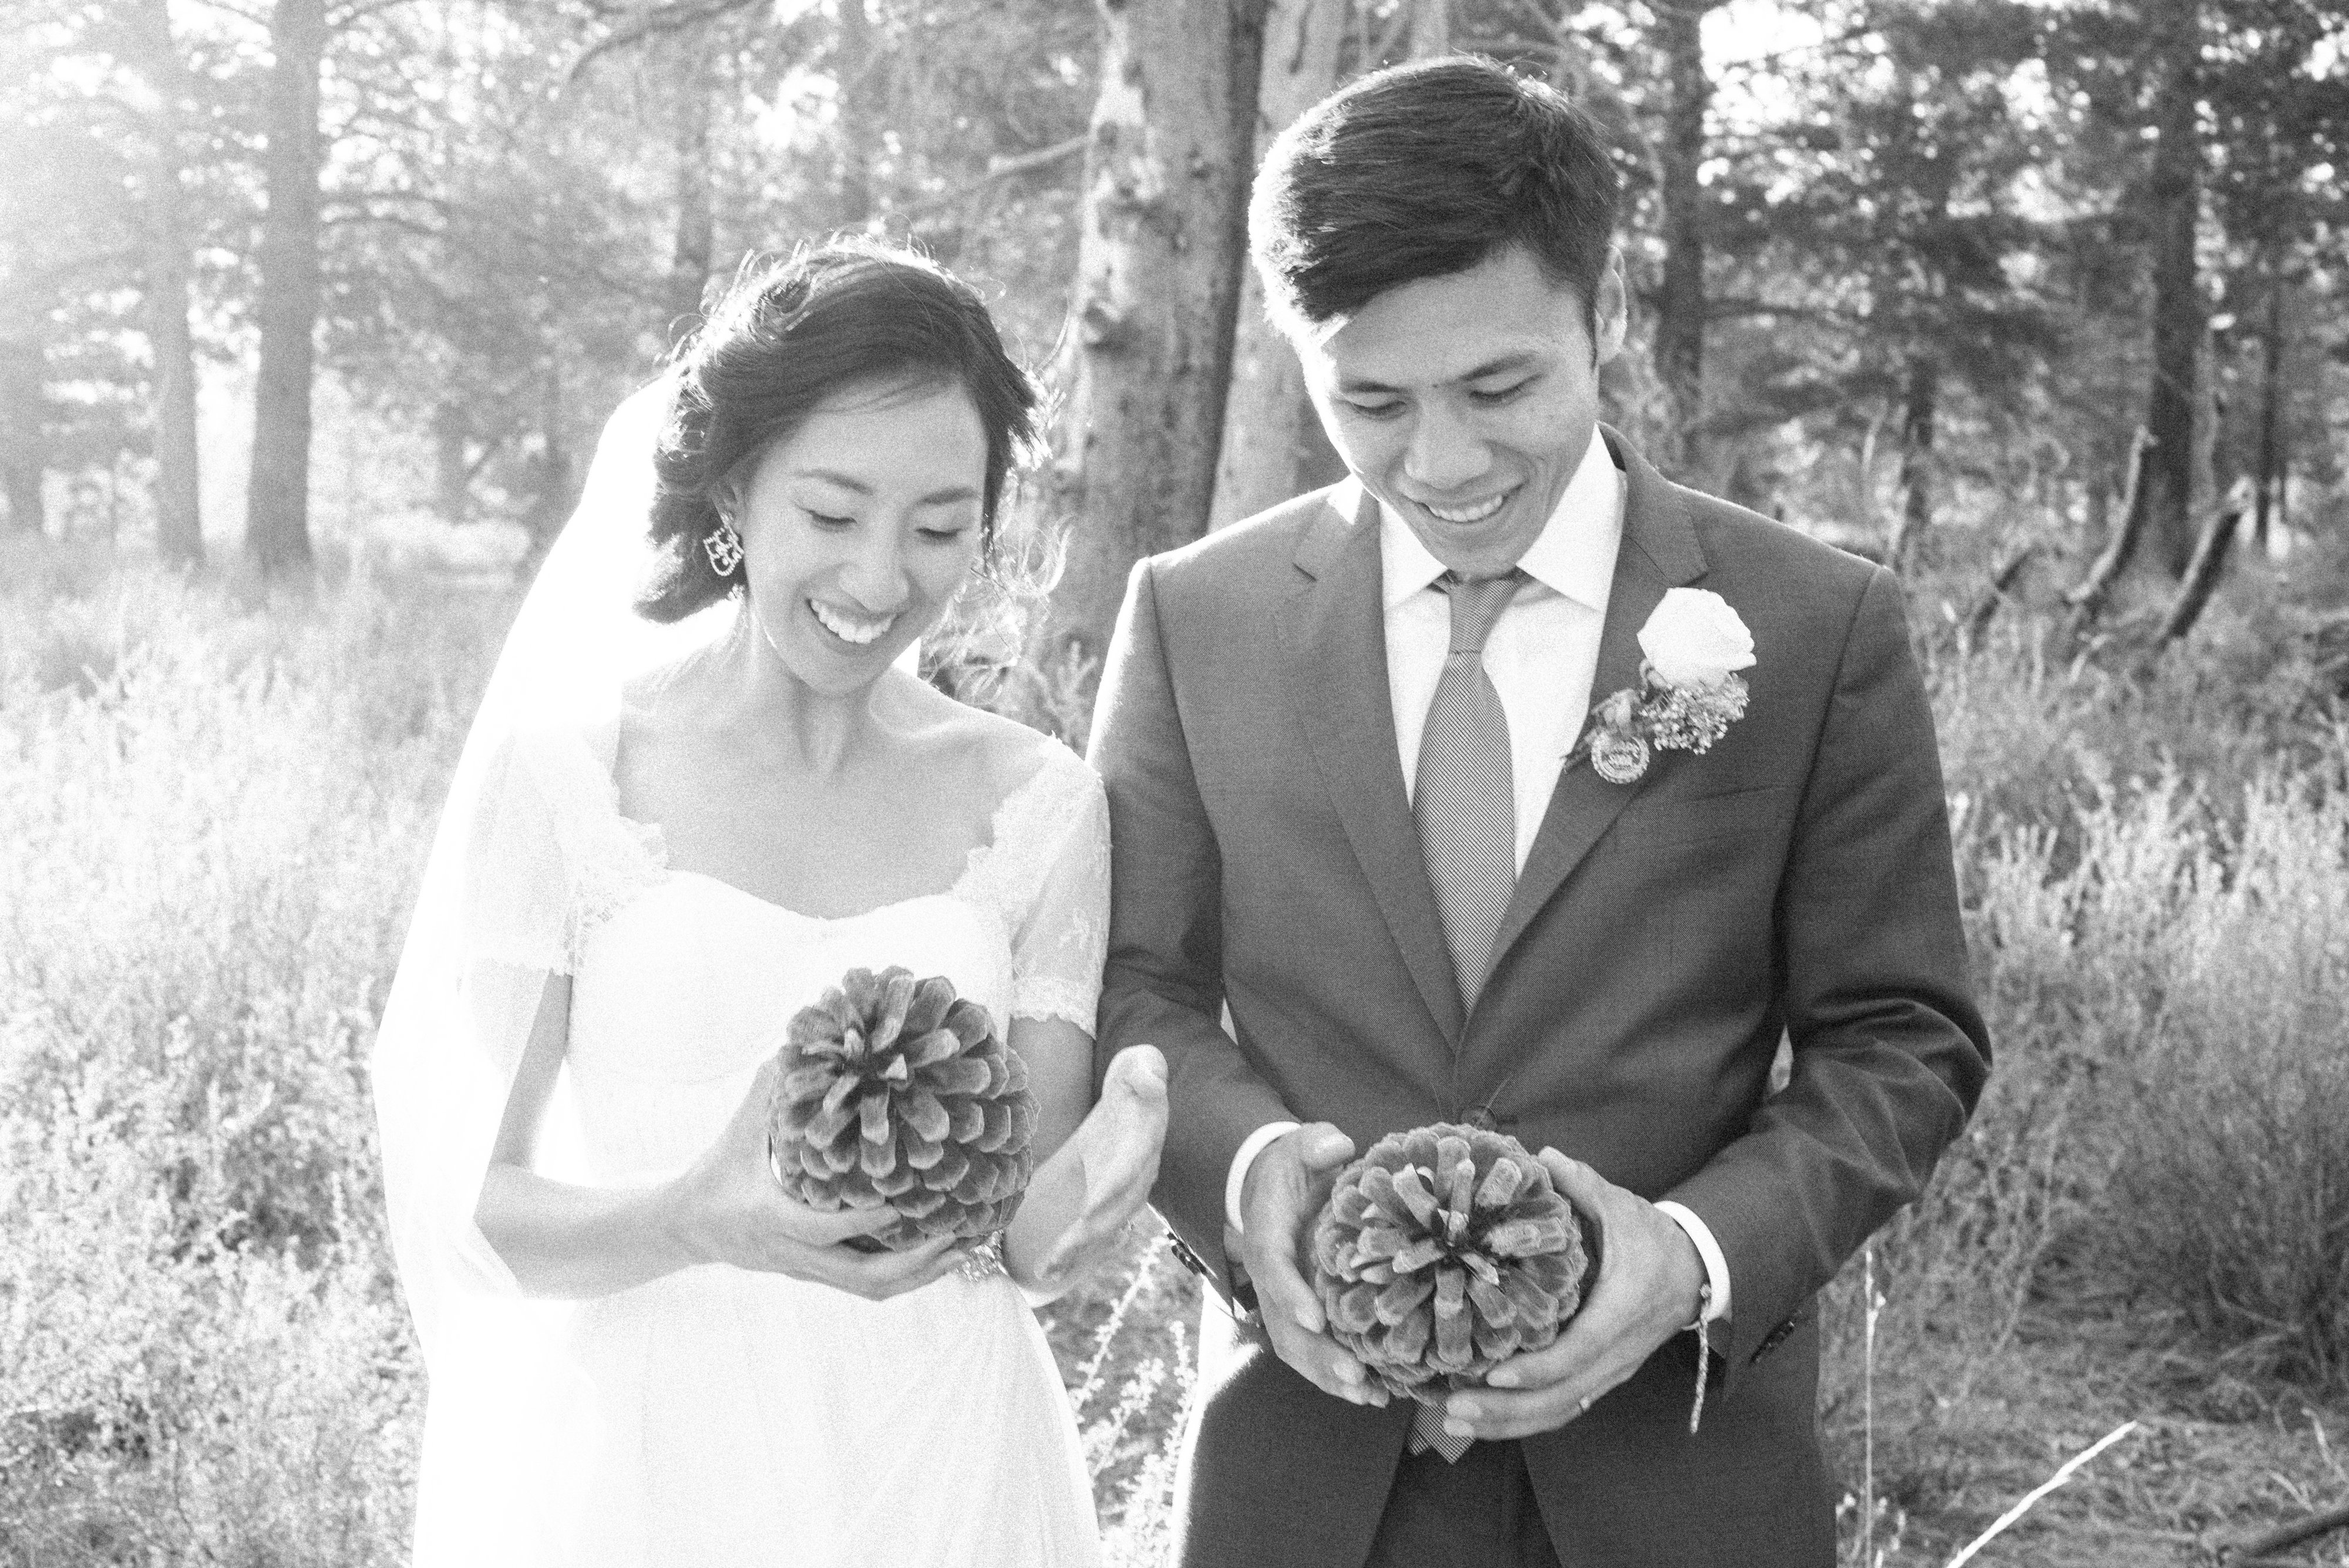
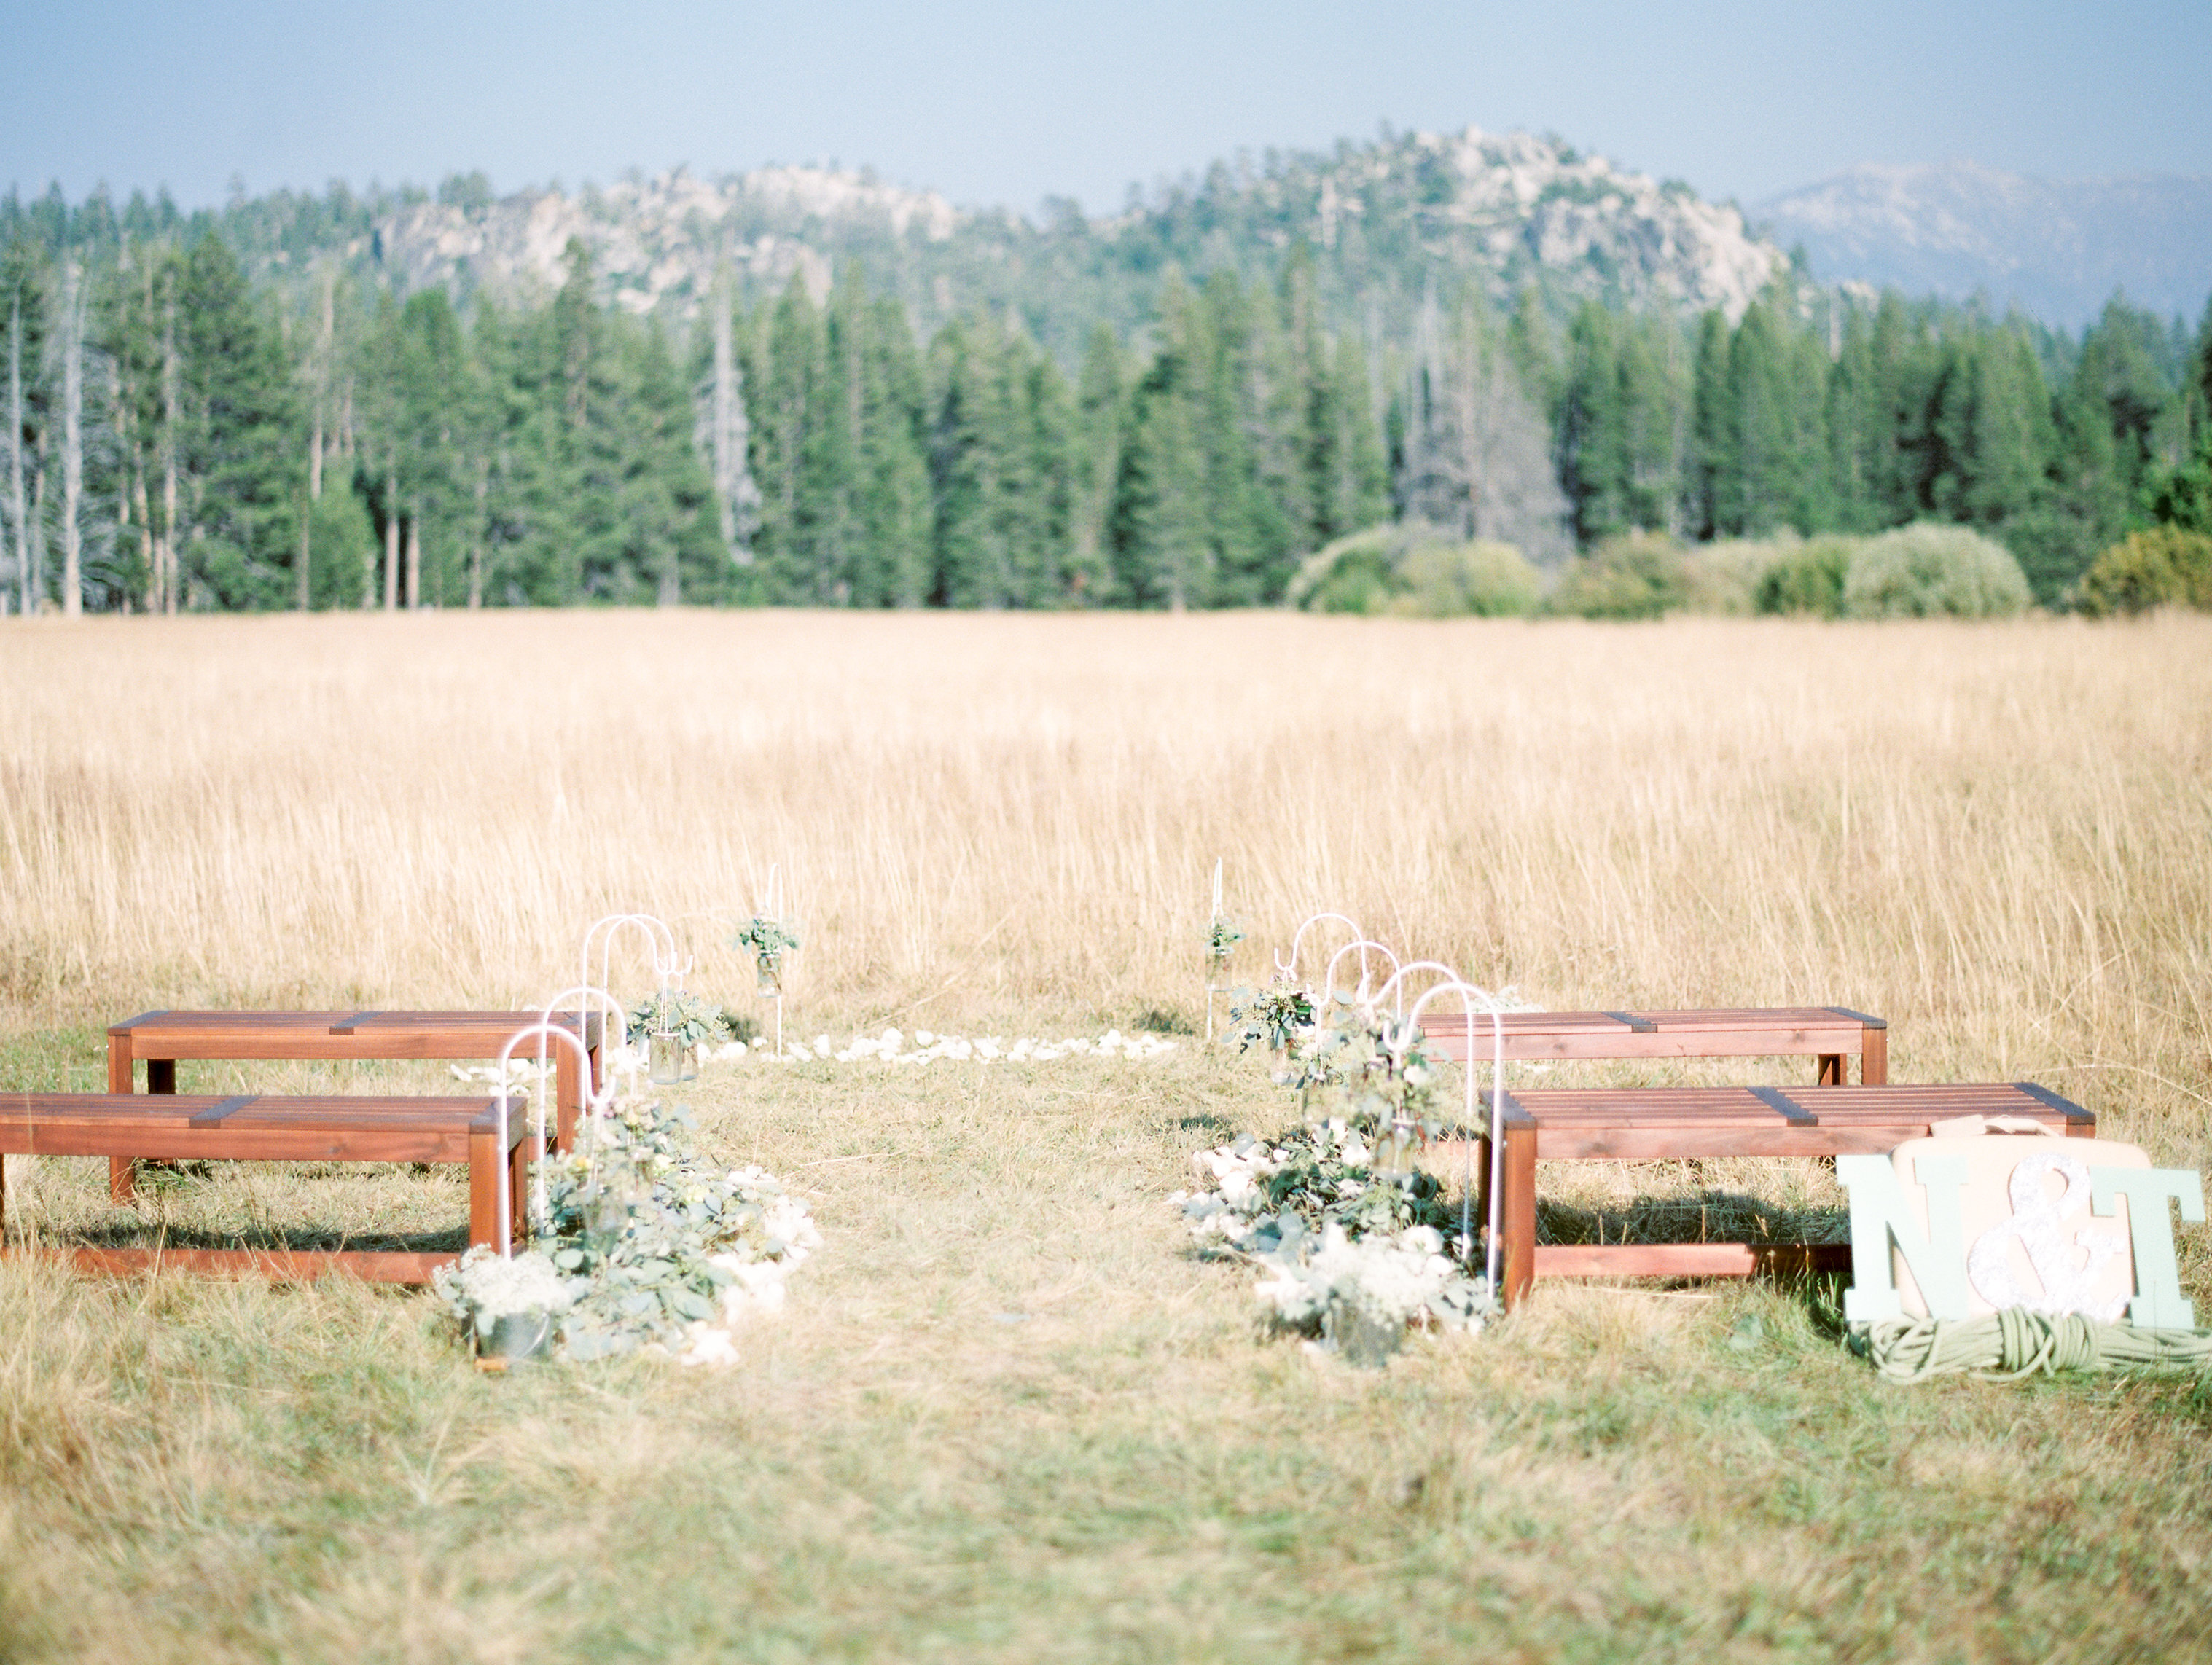
My husband and I had two wedding events. We had a small intimate wedding ceremony and dinner in South Lake Tahoe with only 15 guests. A couple of weeks later, we had a larger informal picnic wedding celebration at a local park.
Here are a couple of DIY elements from our wedding:
Burlap and Lace Table Runners

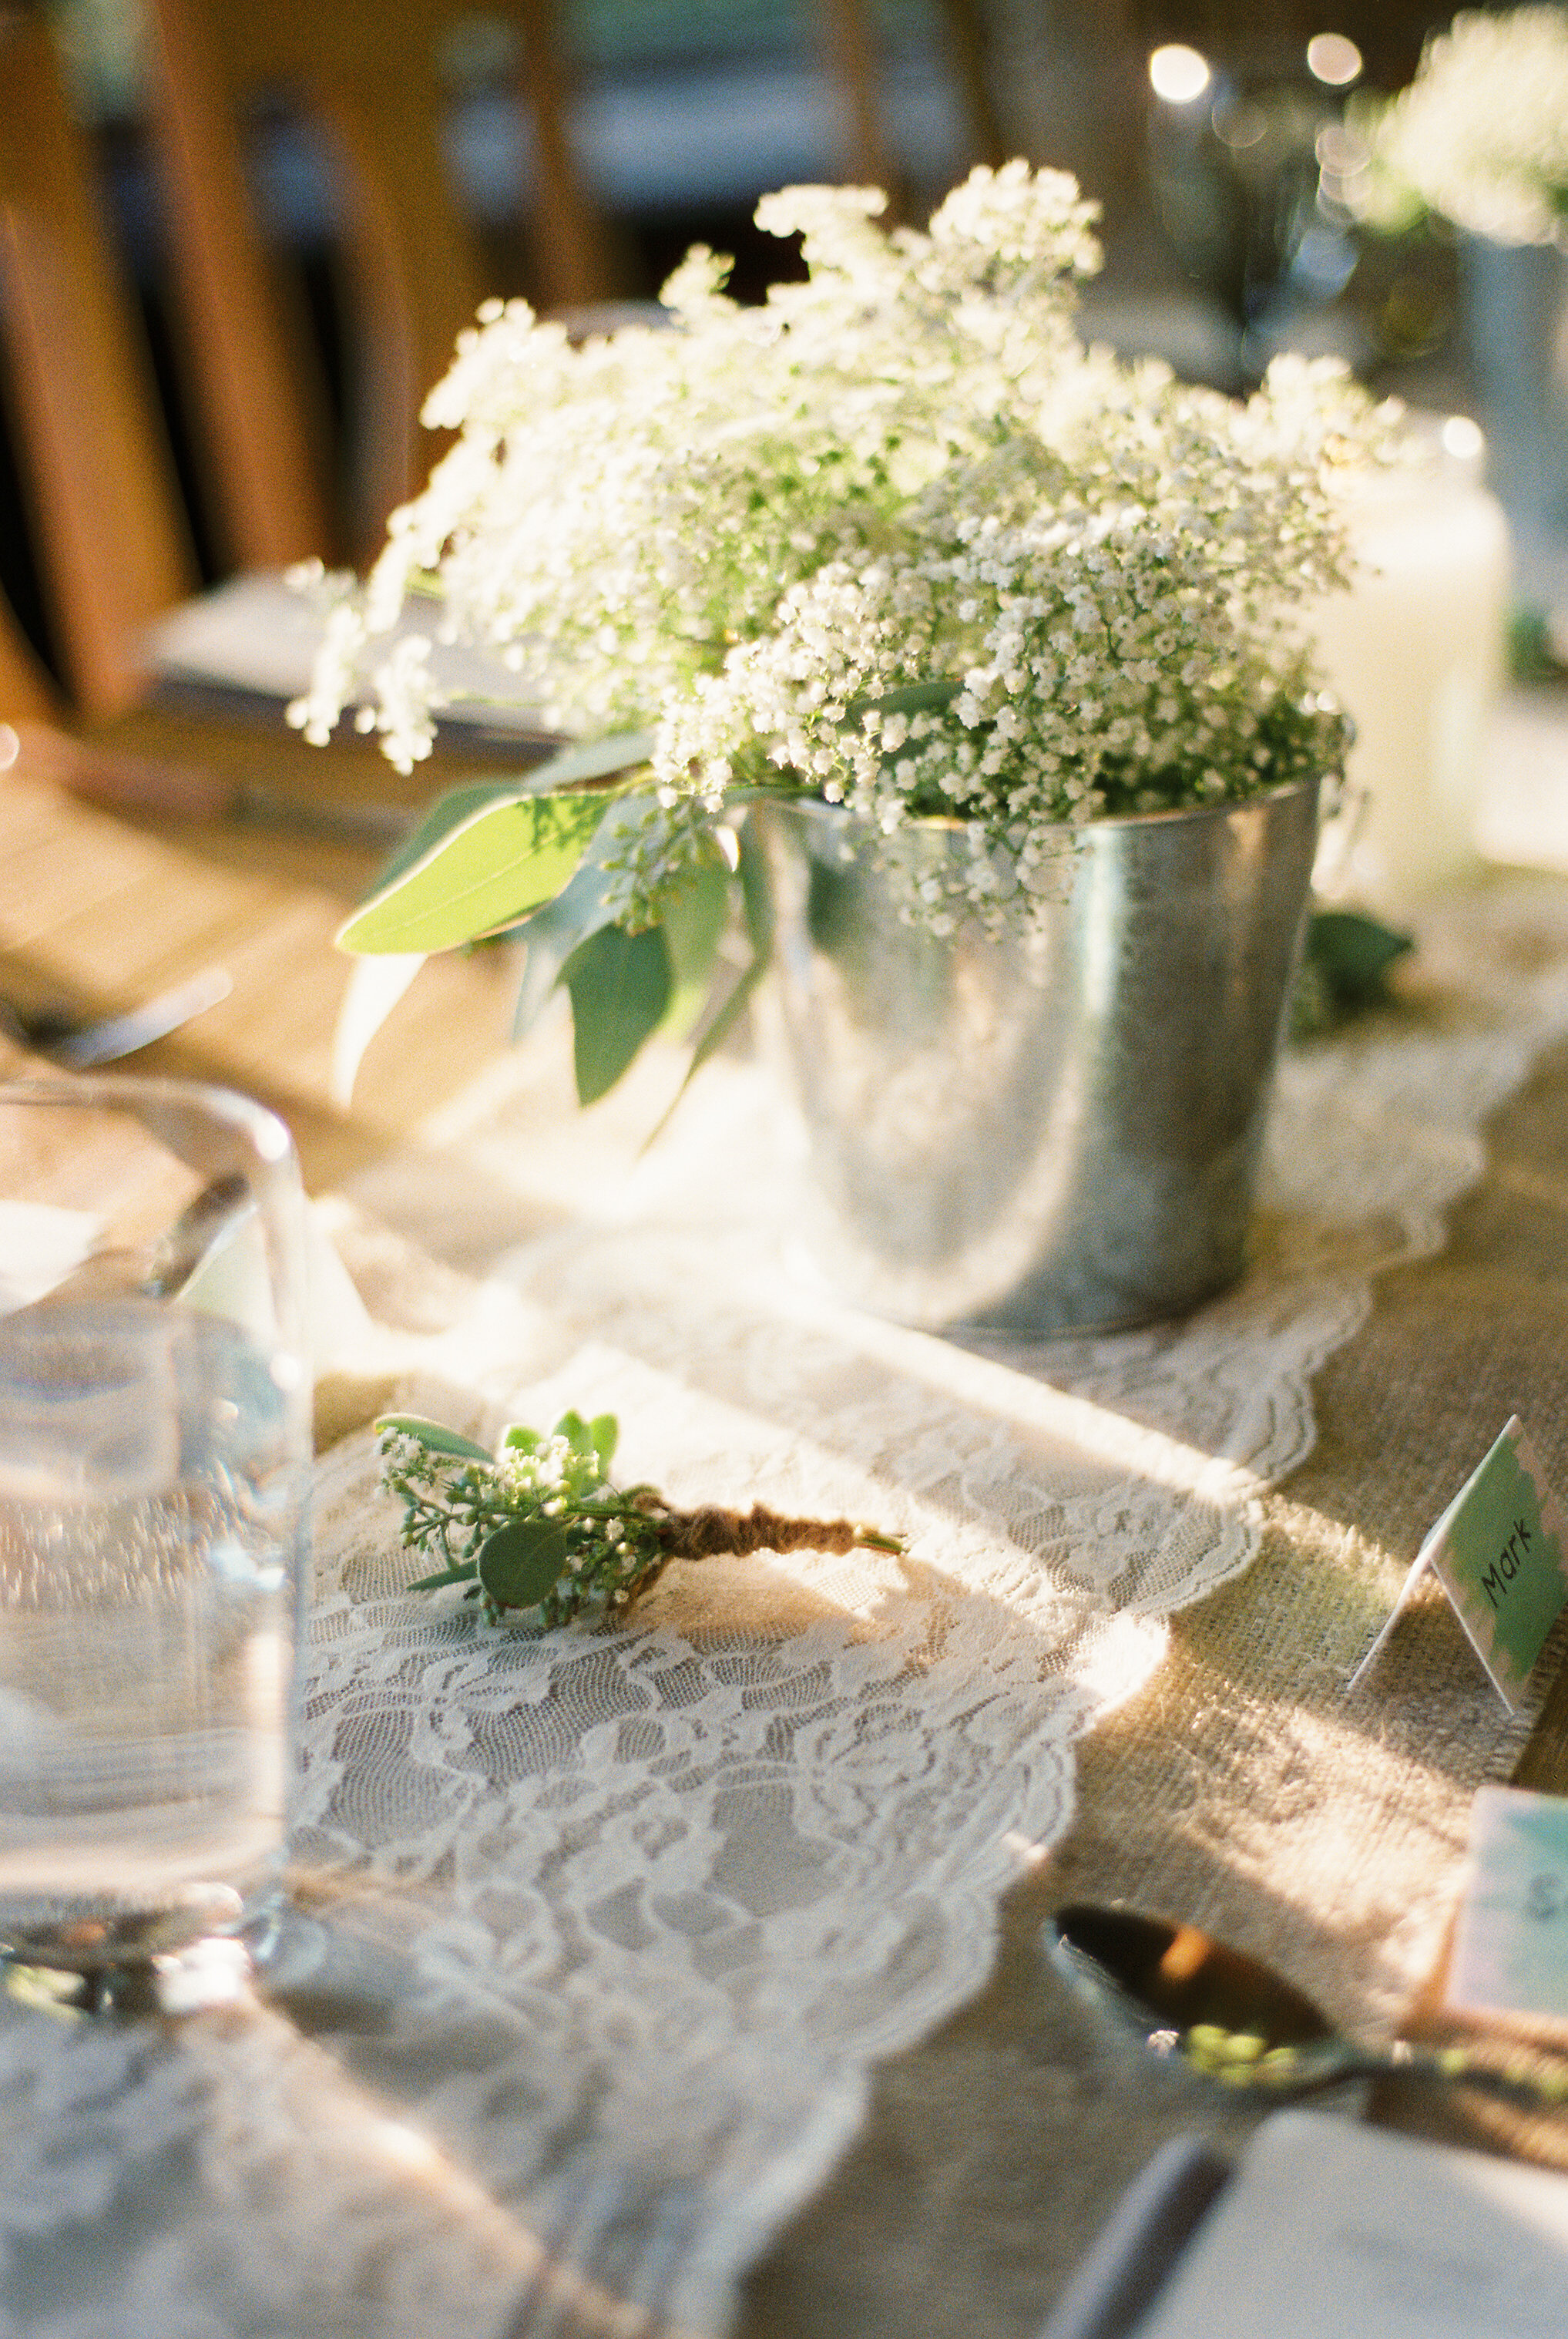
I love the combination of burlap and lace. I bought the materials (14″ wide Burlap, 9″ wide Ivory Lace Ribbon) in bulk from burlapfabric.com. Using translucent thread and a sewing machine, I sewed the lace to the burlap down the center. Since the materials come in one roll, you can make the table runners any length you need!
Wooden Initial Signs
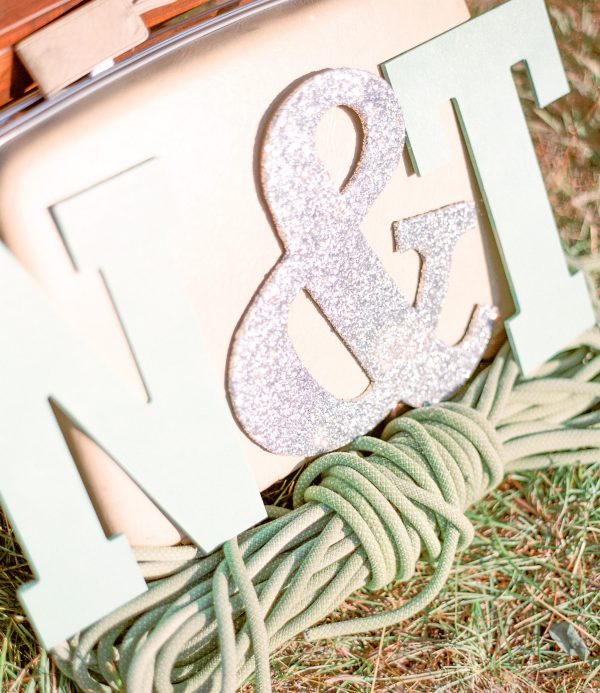
I purchased unfinished 13.5″ wooden letters from Joann.com. They have a wide variety of font styles and sizes that can be purchased online. I sanded down the edges with sandpaper (not absolutely required). You can use any color spray paint to color the wooden letters. Mine was “Pistachio”. The “&” sign was painted using ModgePodge and silver glitter.
Succulent Boutonnières
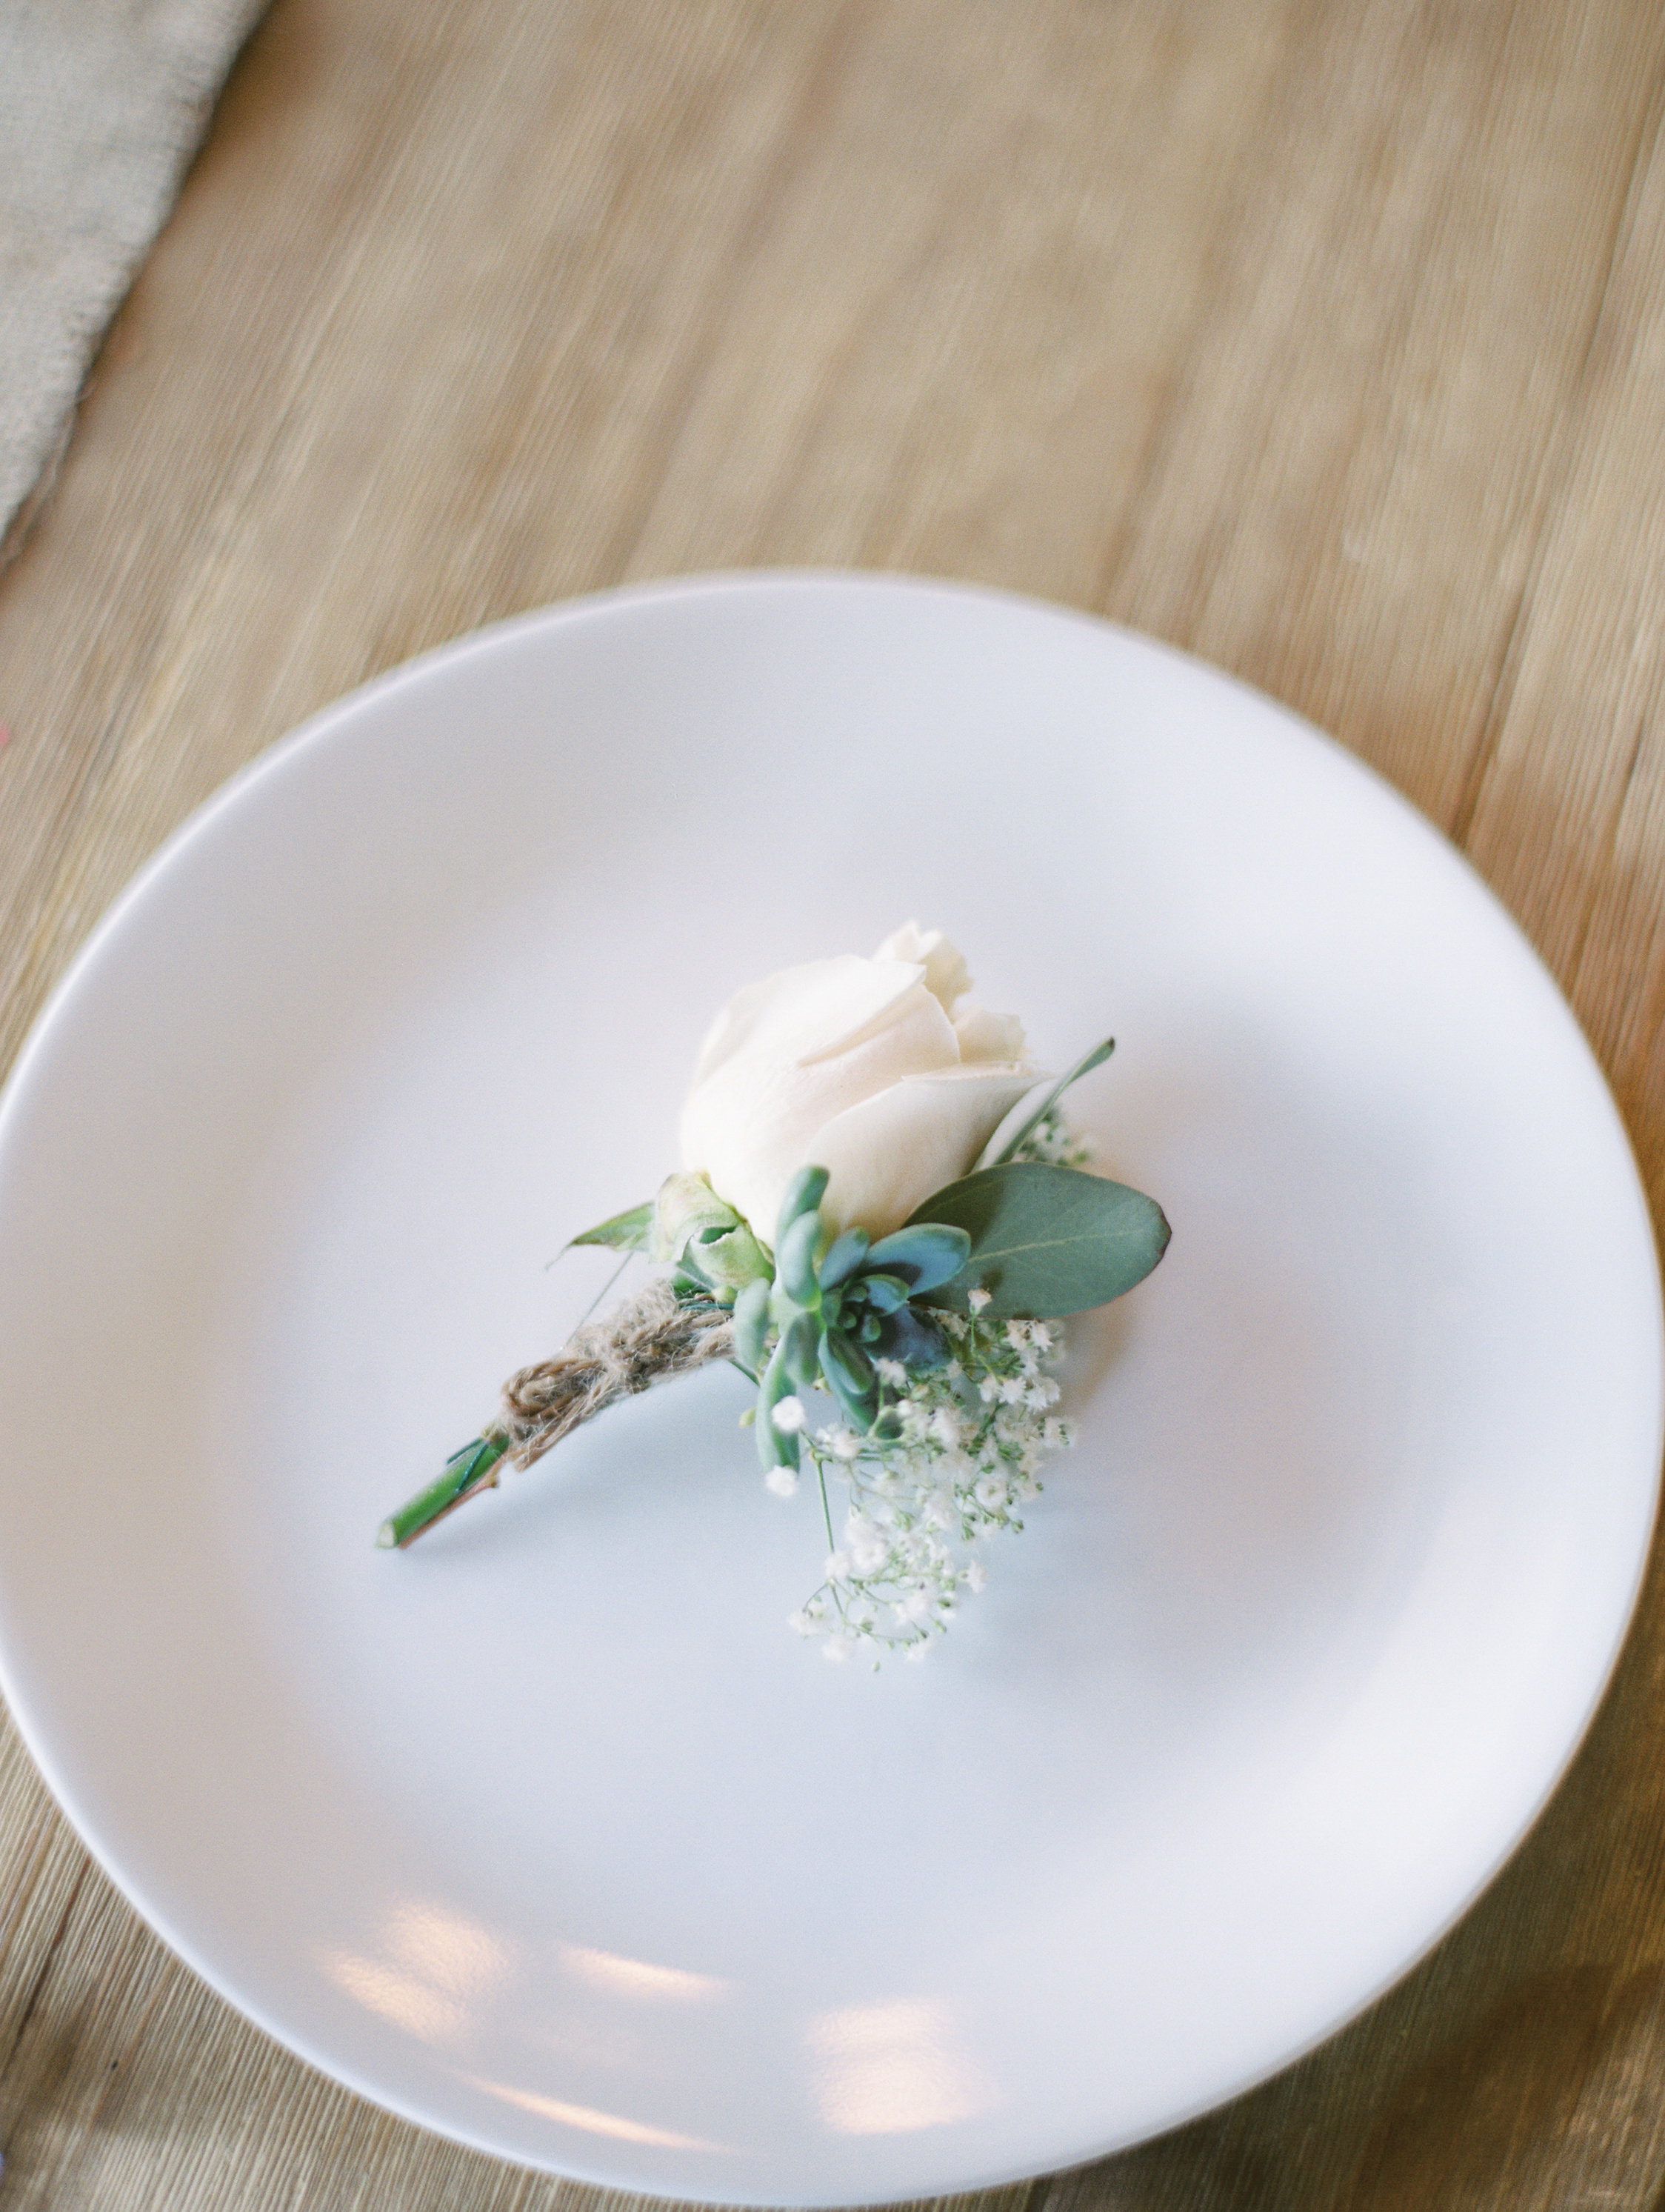
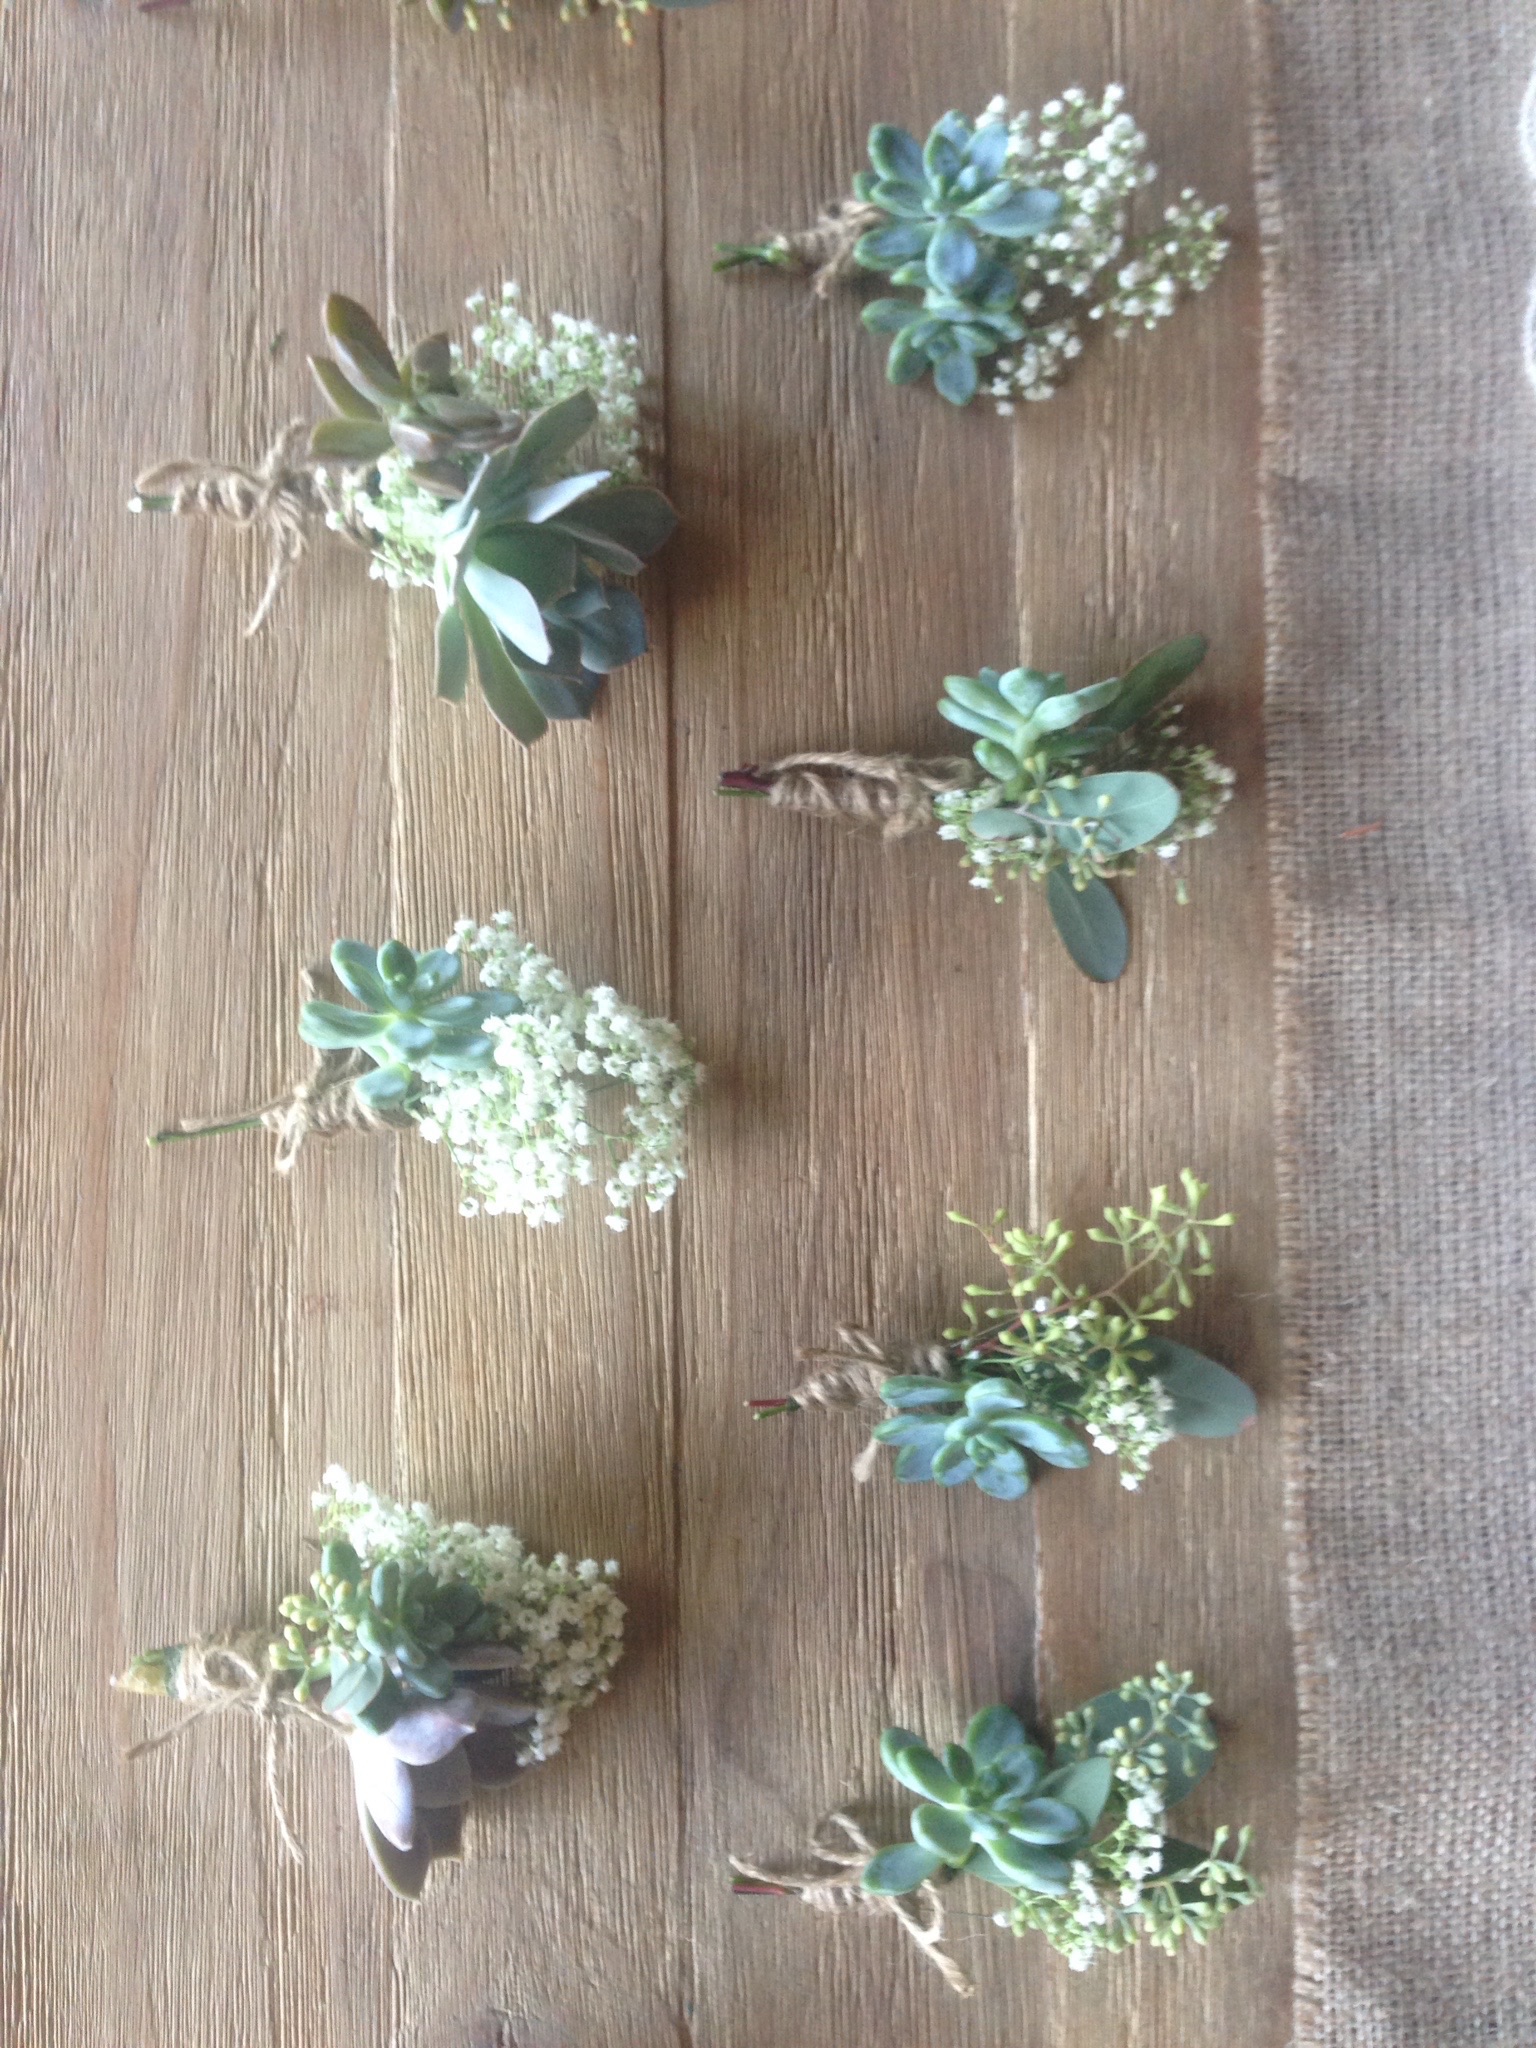
I can’t take credit for making these because they were done by my friends. I went to the local flea market a month before the wedding and picked out an assortment of baby succulents. Using floral wire, burlap twine, seeded eucalyptus, and roses from the local grocery store they made this!
“Grape Soda” Pins
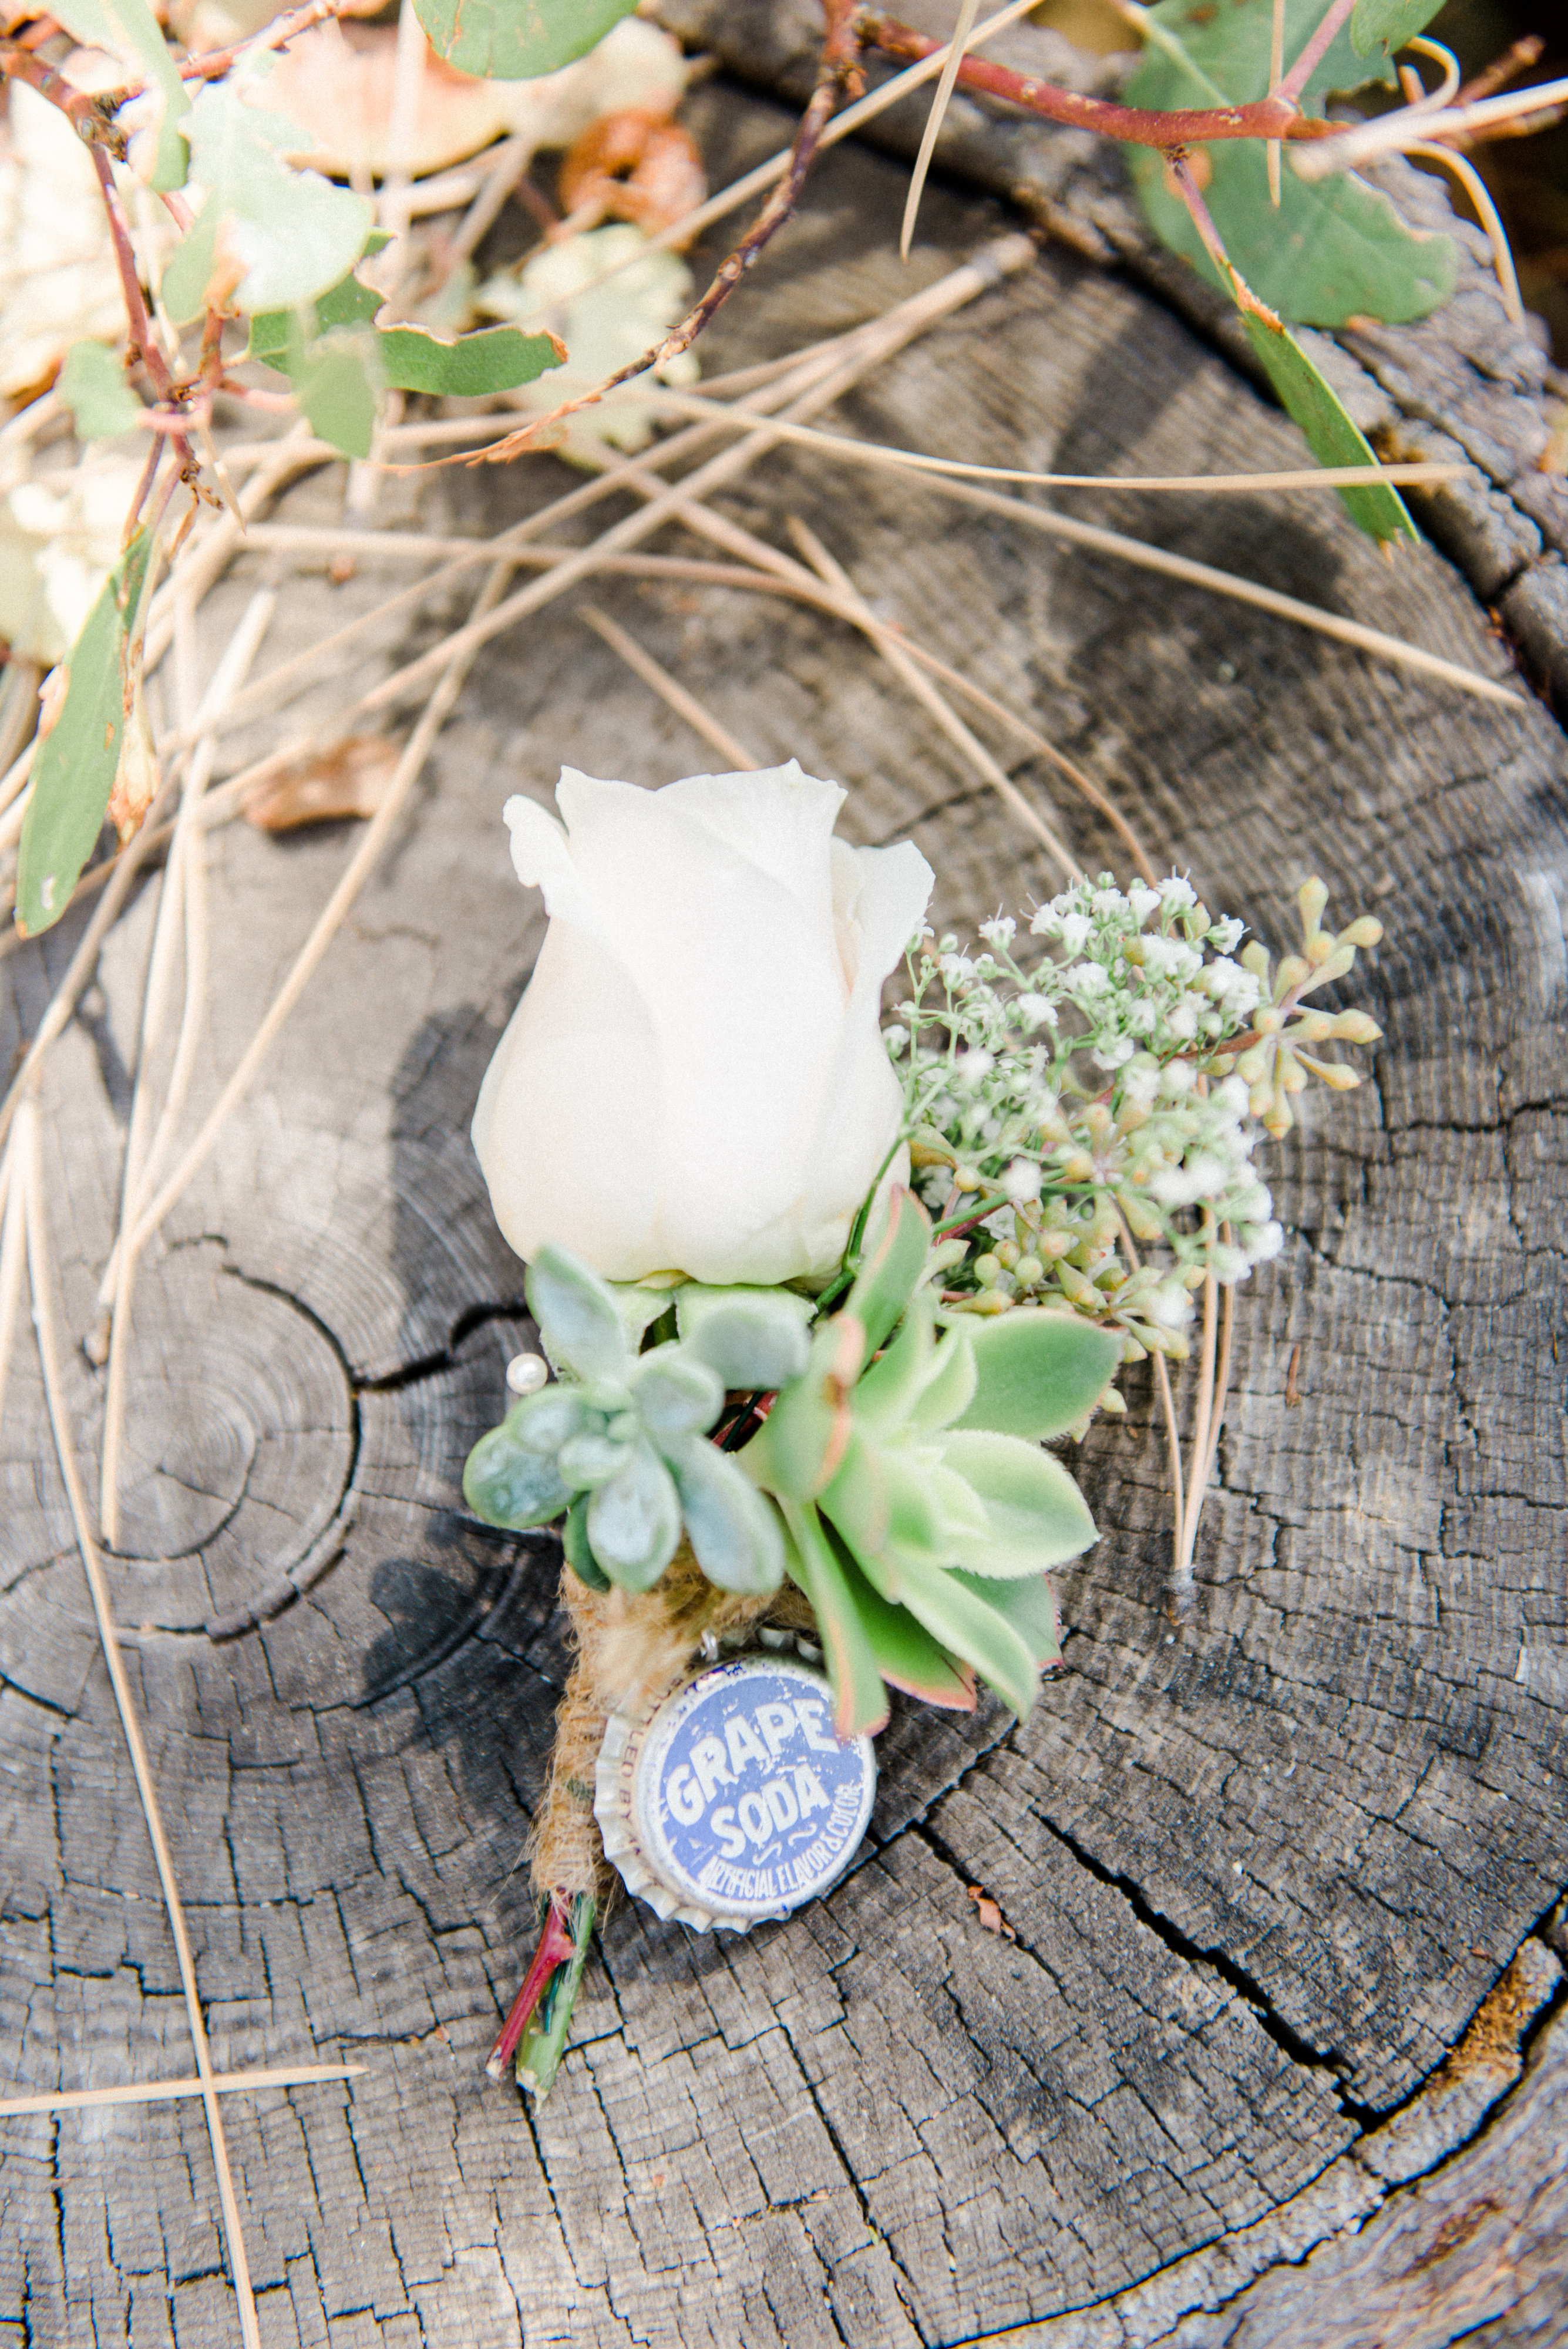
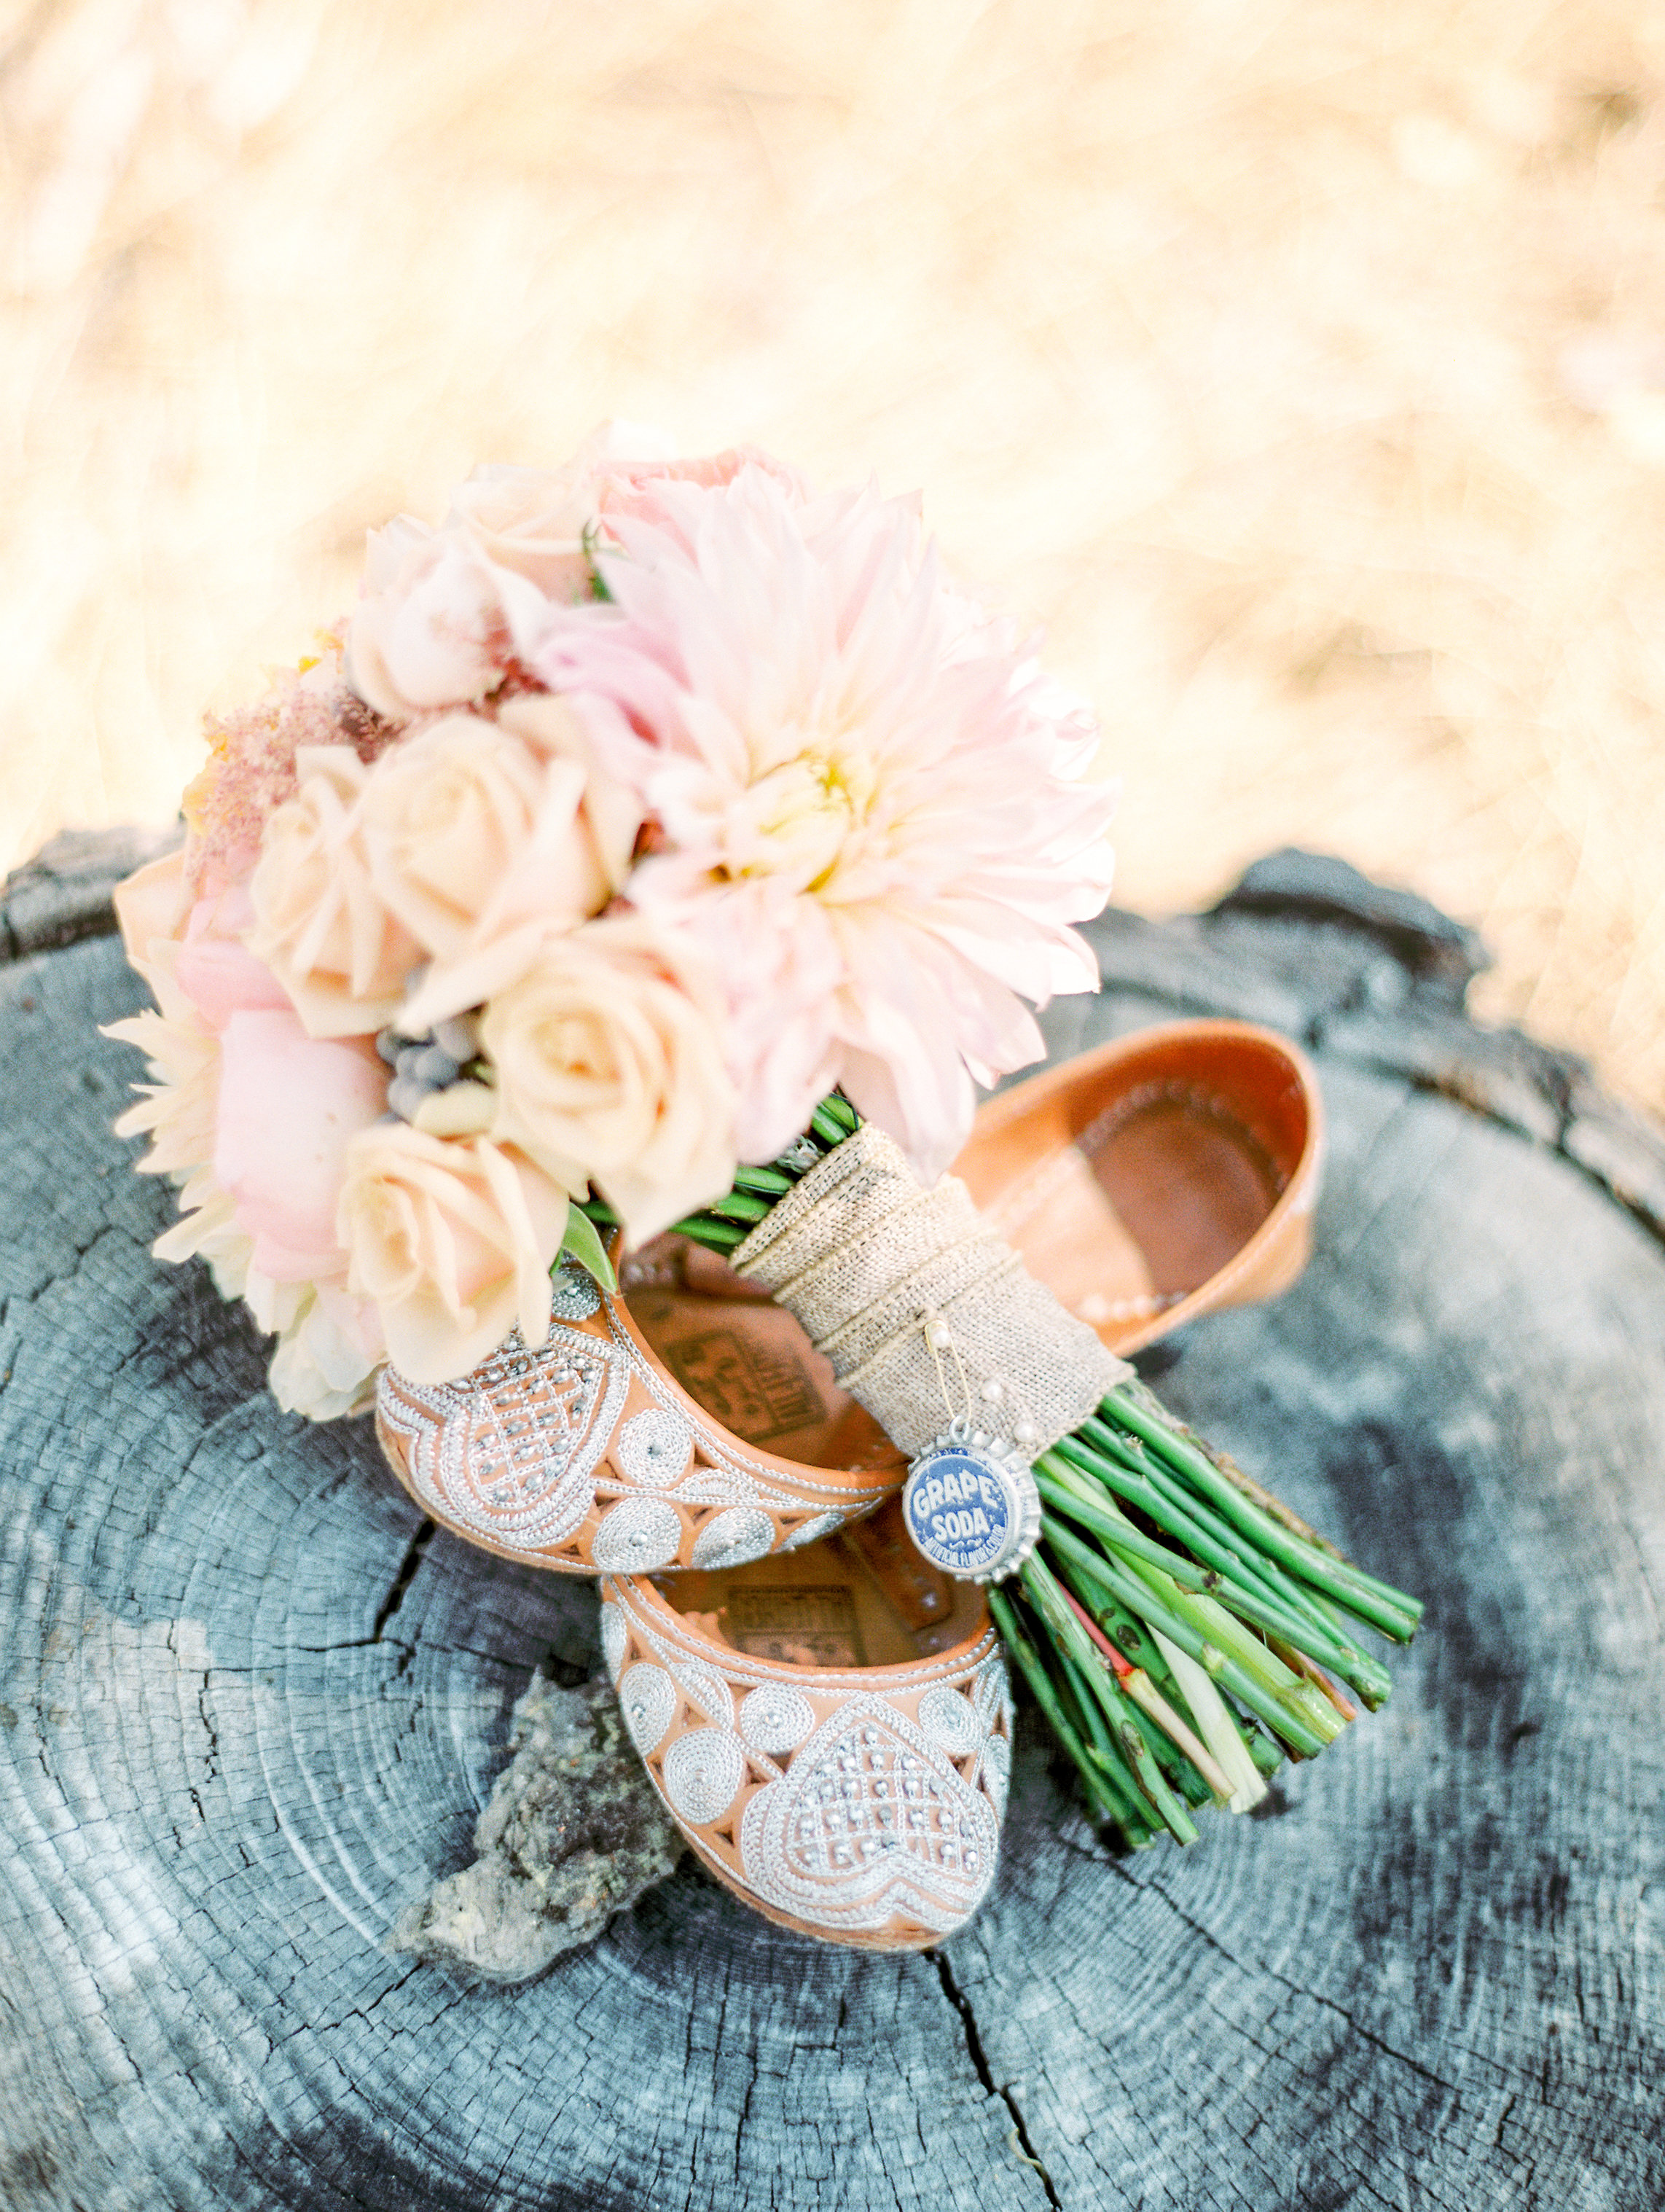
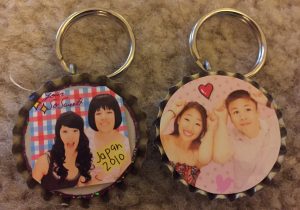
I am a huge Disney fan. I saw these “Grape Soda” keychains at the local flea market and wanted to incorporate them into our wedding. Back in 2010, we took a trip to Japan and took “sticky” pictures. I picked my two favorites and attached them to the back of the “Grape Soda” keychains.
Door Decorations
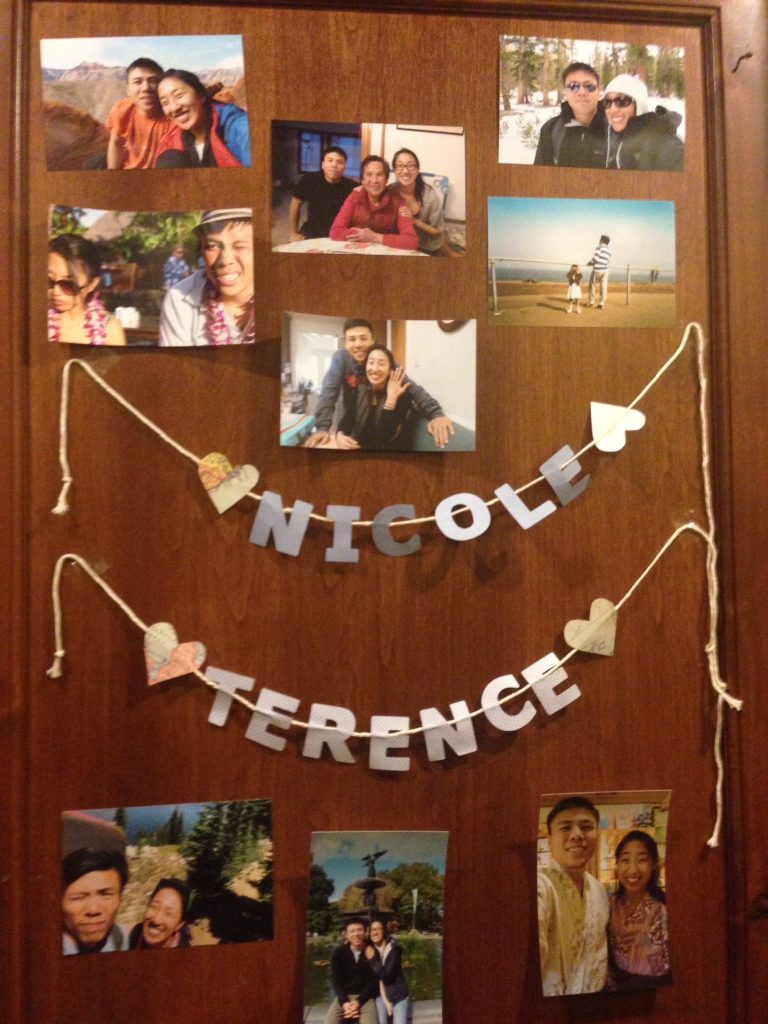
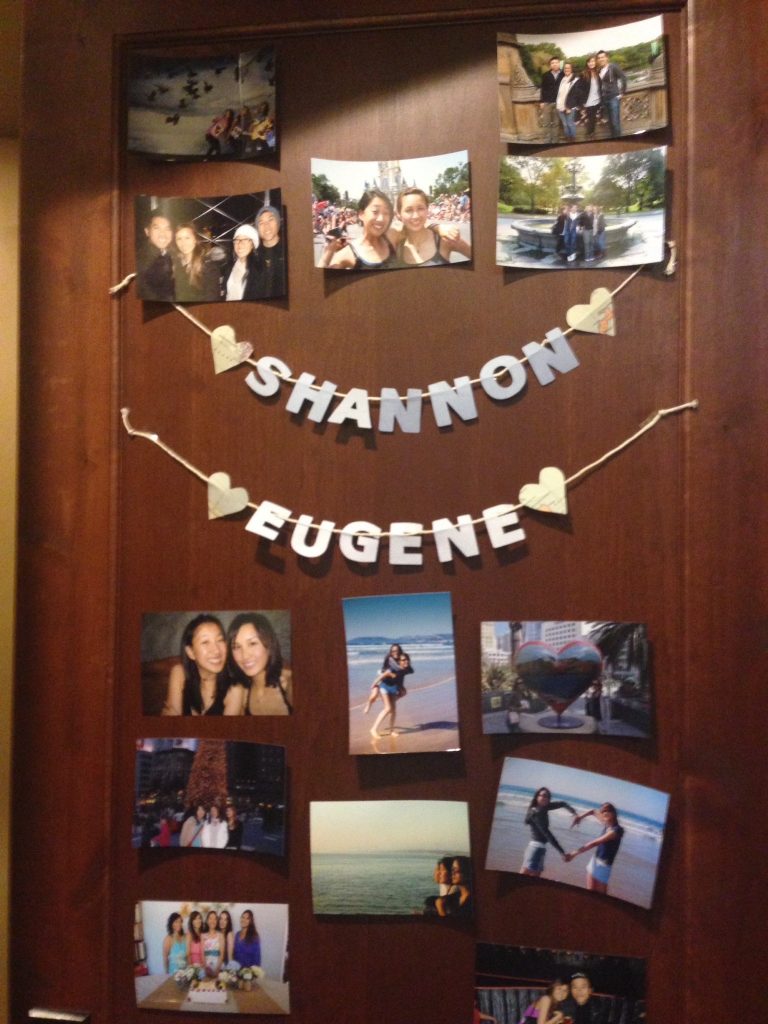
For the South Lake Tahoe Wedding, we rented out a large AirBnB for the weekend. On each door, I had door decorations with pictures of the guests with the bride / groom!
Picnic Wedding Menu
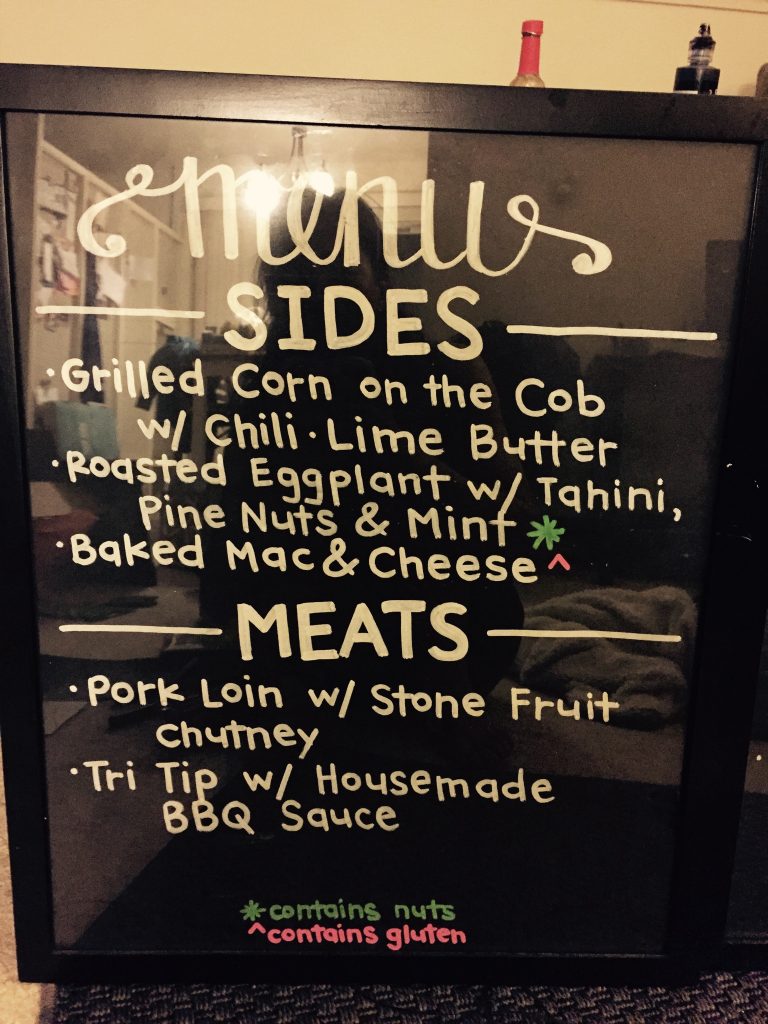
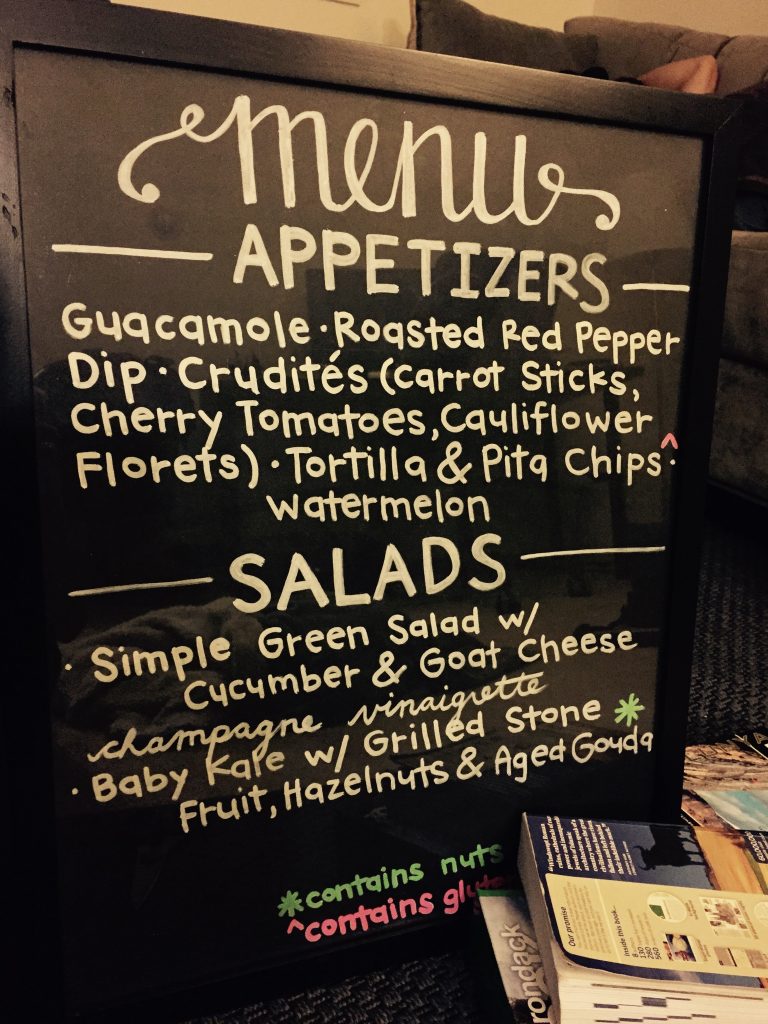
Using an old roll of black chalkboard paper, chalkboard markers, and two old frames I created the menus for the picnic wedding.
Happy wedding planning!