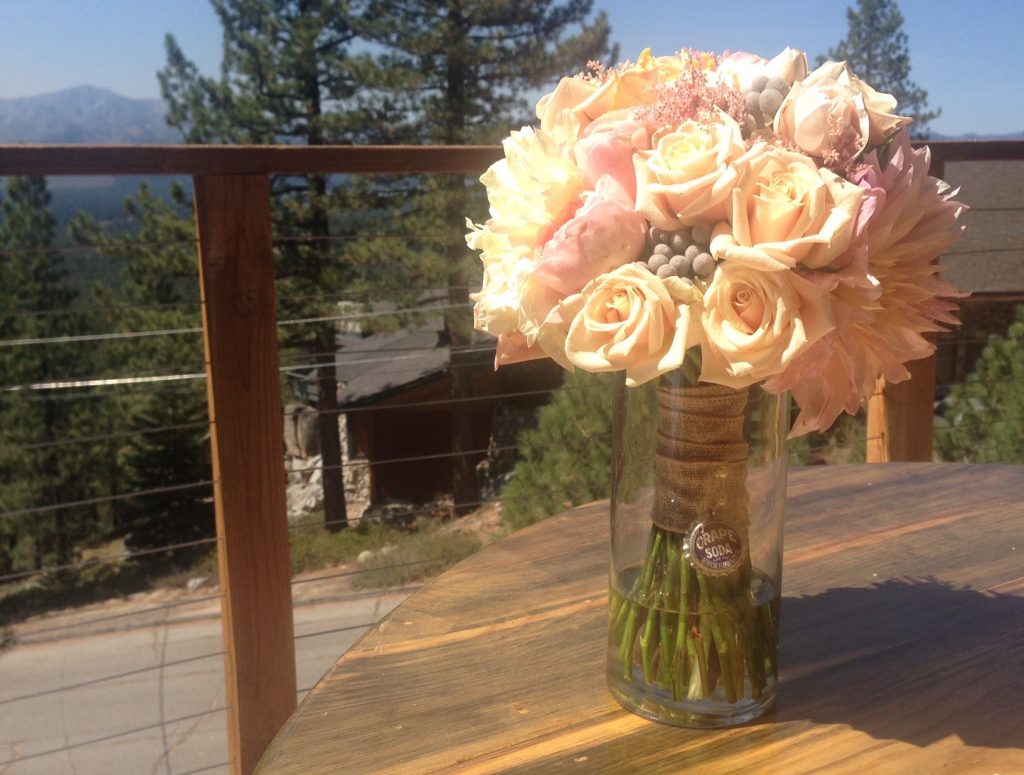
One of my favorite parts about weddings are the flowers. I did a lot of research on what kind of flowers I wanted for my wedding. I wanted to find flowers with pink and peach hues. I picked out some David Austin garden roses, brunia berries, baby’s breath, and seeded eucalyptus for my wedding flowers.
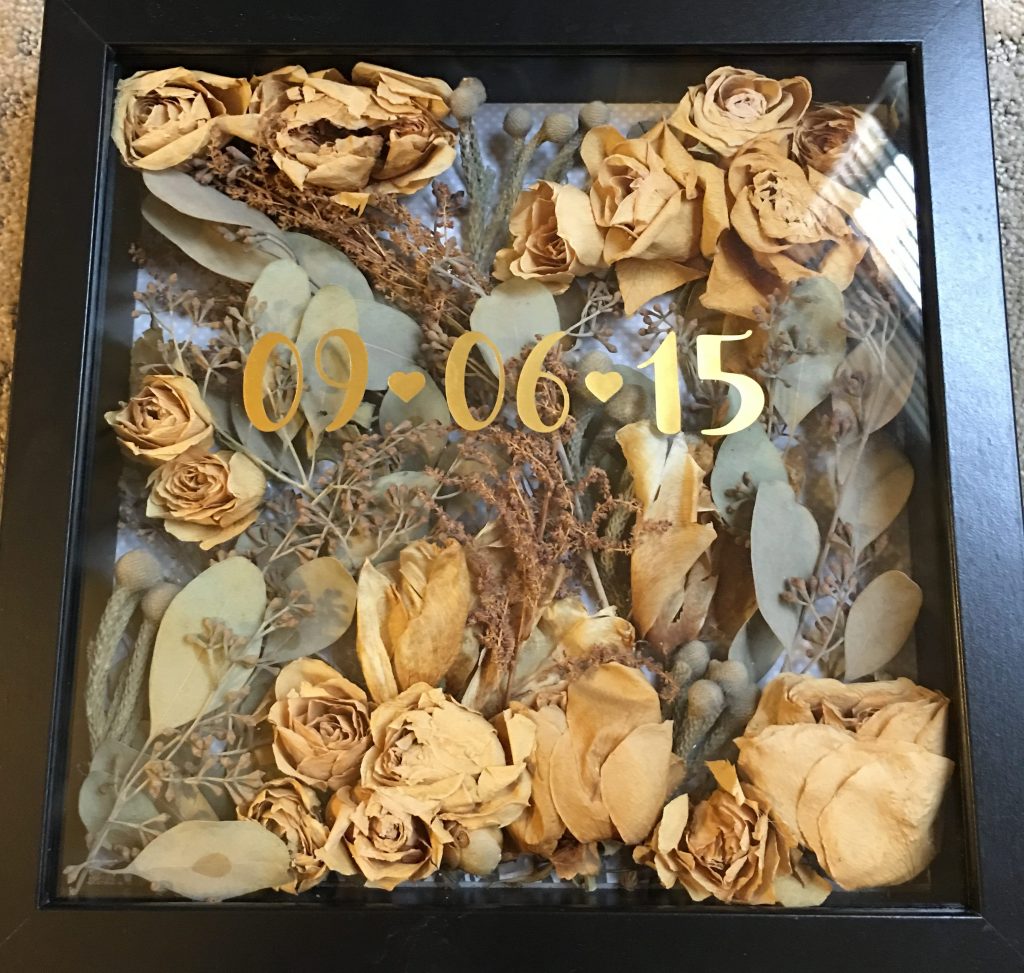
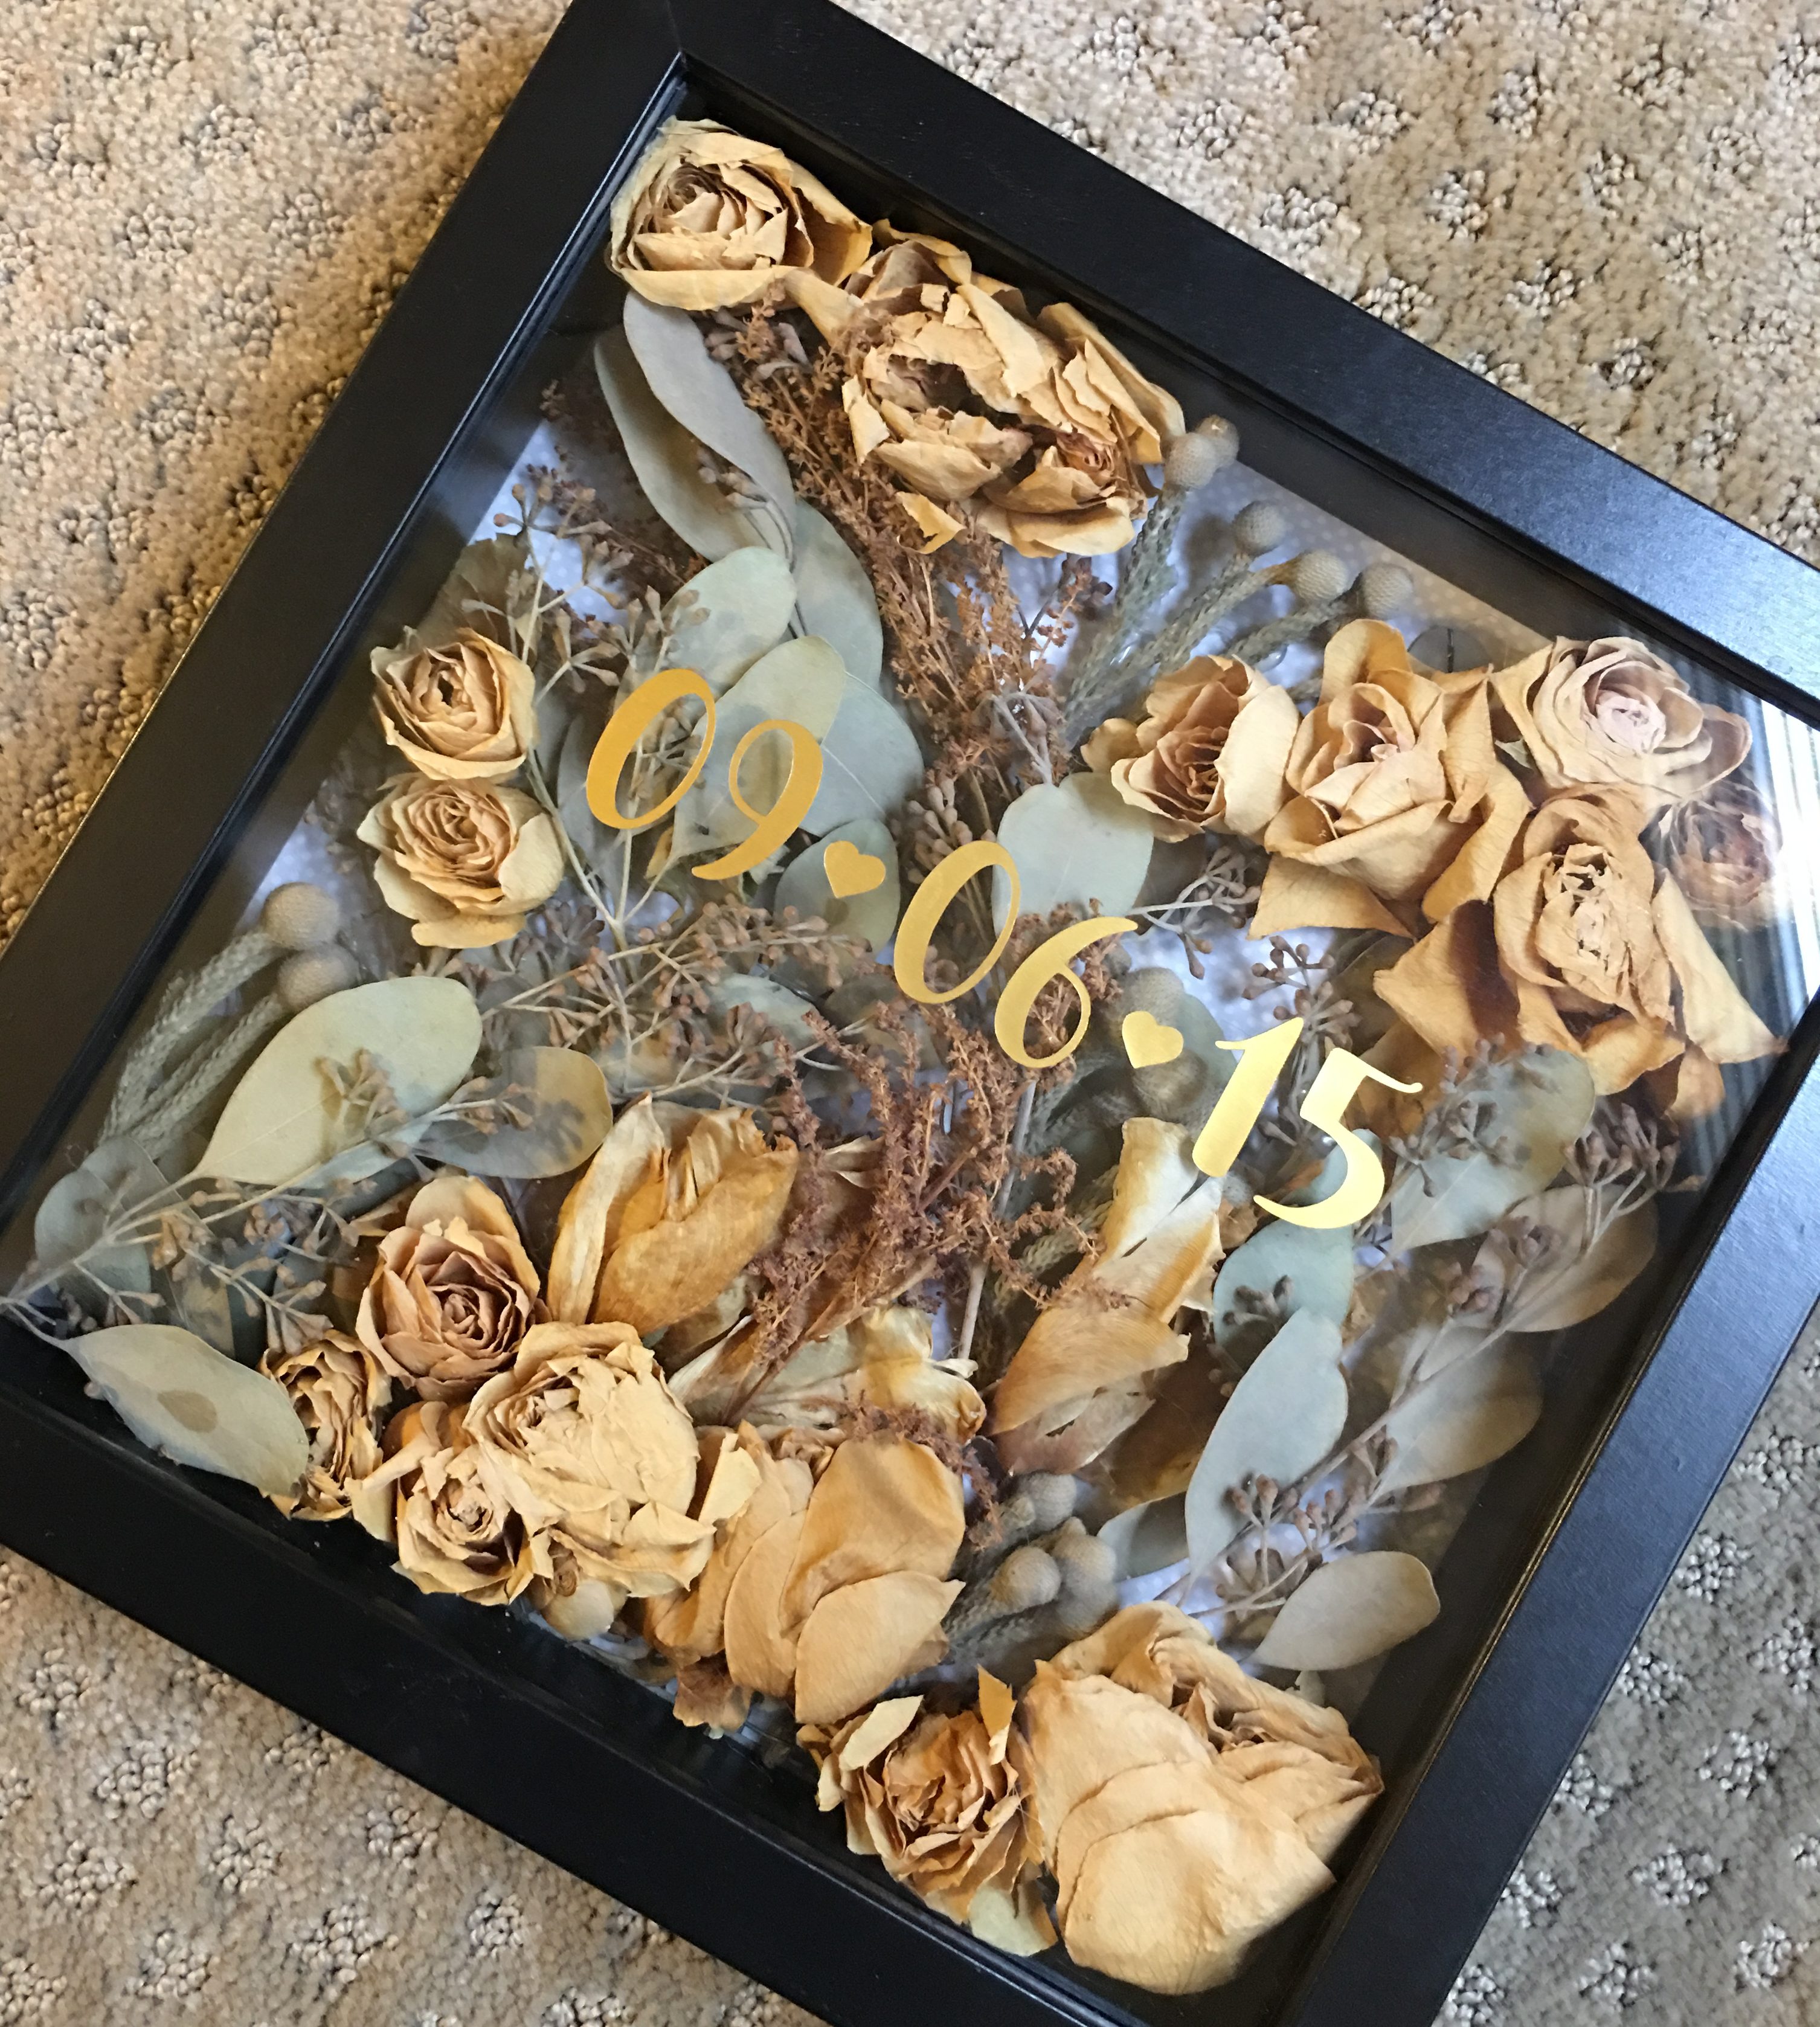
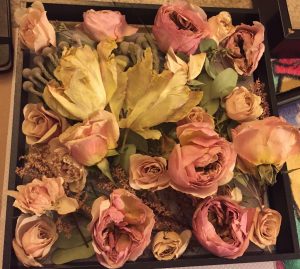
I wanted a way to preserve these flowers and use them as decor for our future home, so the day after the wedding I dried them in silica gel. After they were dry, I framed them. I love how they turned out and every time I look at the frame I think of our wedding date. It’s definitely an easy and cheap way to preserve your wedding flowers!
OVERVIEW
Cost: ~$15
Difficulty: Beginner
Tools: Hot Glue Gun, Scissors
MATERIALS
(1) Dried Wedding Flowers: These can either be from the bridal bouquet or even flower arrangements from the table.
IMPORTANT TIPS:
- Dry the wedding flowers the day after the wedding before the flowers start wilting. There are many ways to dry the flowers. Some hang the flowers upside down.
- I placed the flowers in silica gel. It really preserved the color of the flowers, though after three years (as you can see in the photo above), the color faded over time. The seeded eucalyptus dried extremely well so I’m really happy with how that turned out! If you do use silica gel, shake off all of the silica gel from the dried flowers. I ended up finding a lot of silica beads in the frame as I was doing the dry layout!
(2) Craft Paper (color of your choice): To be used for the background. It is recommended to use a lighter color or neutral background so the flowers can stand out.
(3) Hot Glue: For the hot glue gun.
(4) FRAME: I used the 9″ x 9″ Ribba Frame from IKEA.
INSTRUCTIONS
(1) Cut the craft paper to the size of the frame (to be used for the background).
(2) Trim and cut dried flowers and do a dry layout in the frame. Take into consideration the depth of the frame to ensure it does not get “smooshed” in the frame (note some of my roses were pressed into the glass frame to get it to fit). Keep in mind the color of the flowers can fade over time, so try to balance out all of the green tones in the leaves within the frame.
(3) After you are satisfied with the dry layout, use the hot glue gun to glue the flowers into place. Ensure the flowers are attached securely as the frame will be hanging vertically on the wall.
(4) OPTIONAL: Using a sticker cutter or stickers of your choice, add your wedding date to the front of the frame. I used a sticker cutter and gold foil tape. I added the date three years later and I think it completed the frame.
