• Framed Wedding Flowers

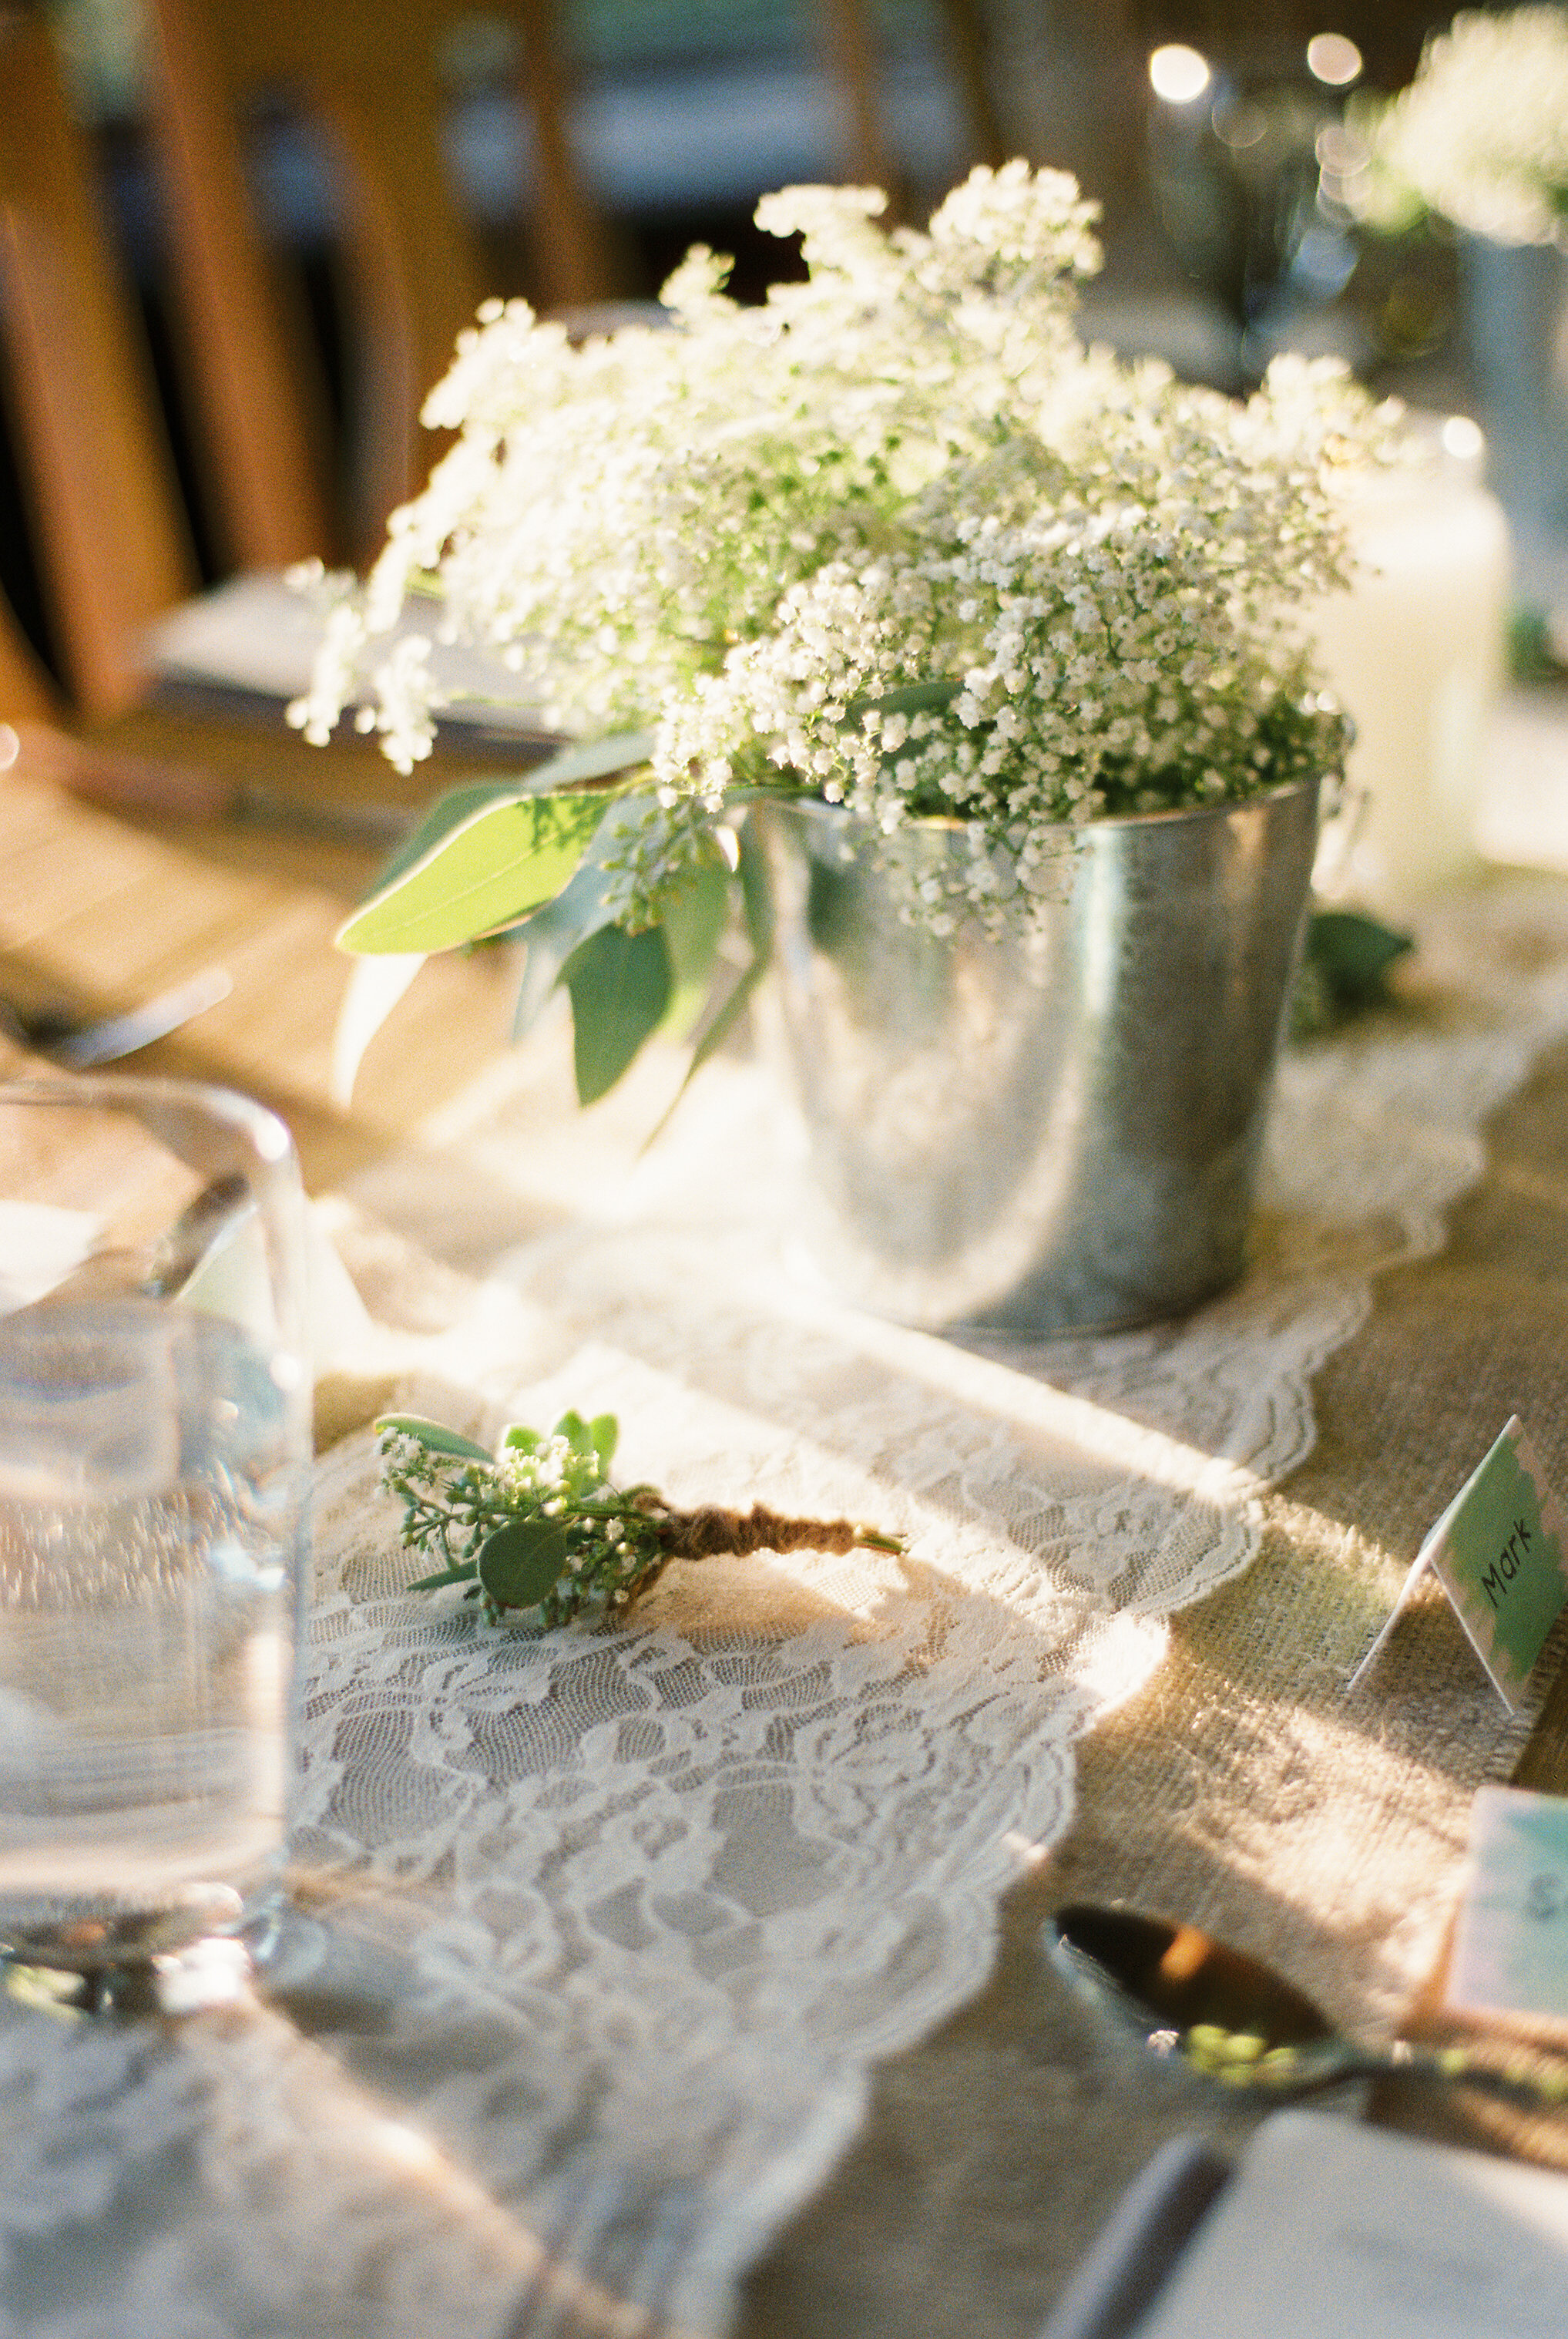
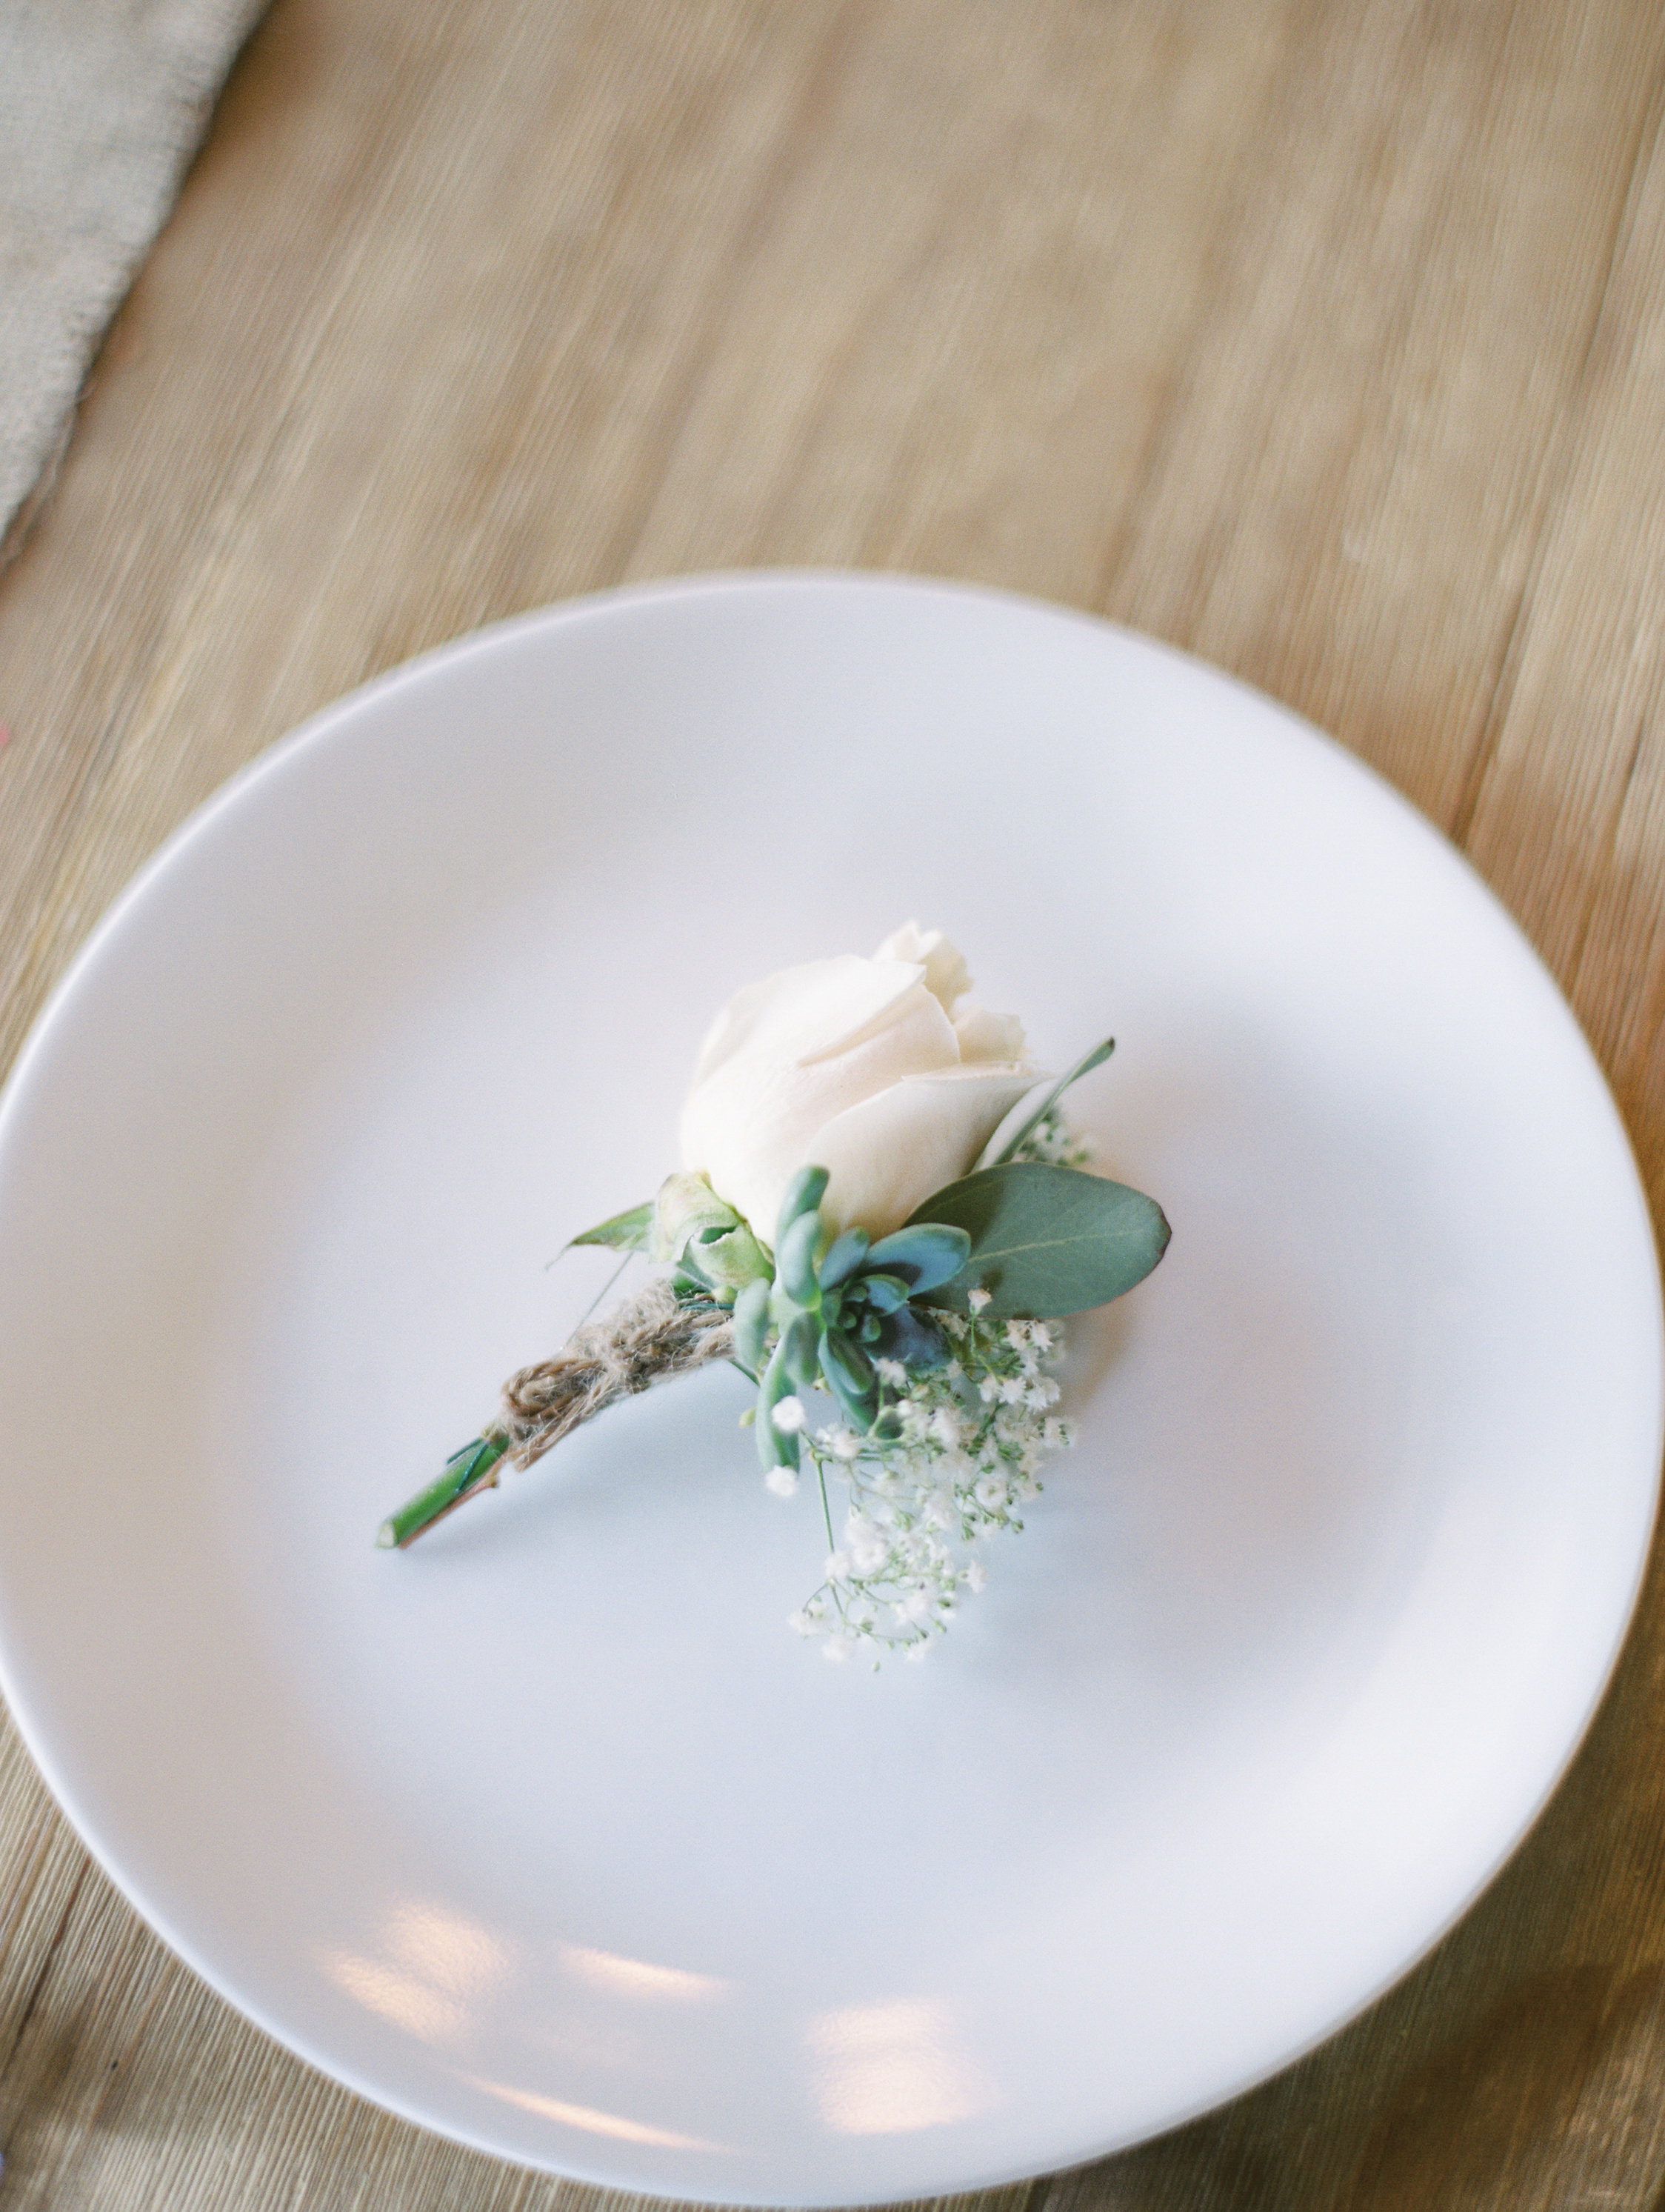
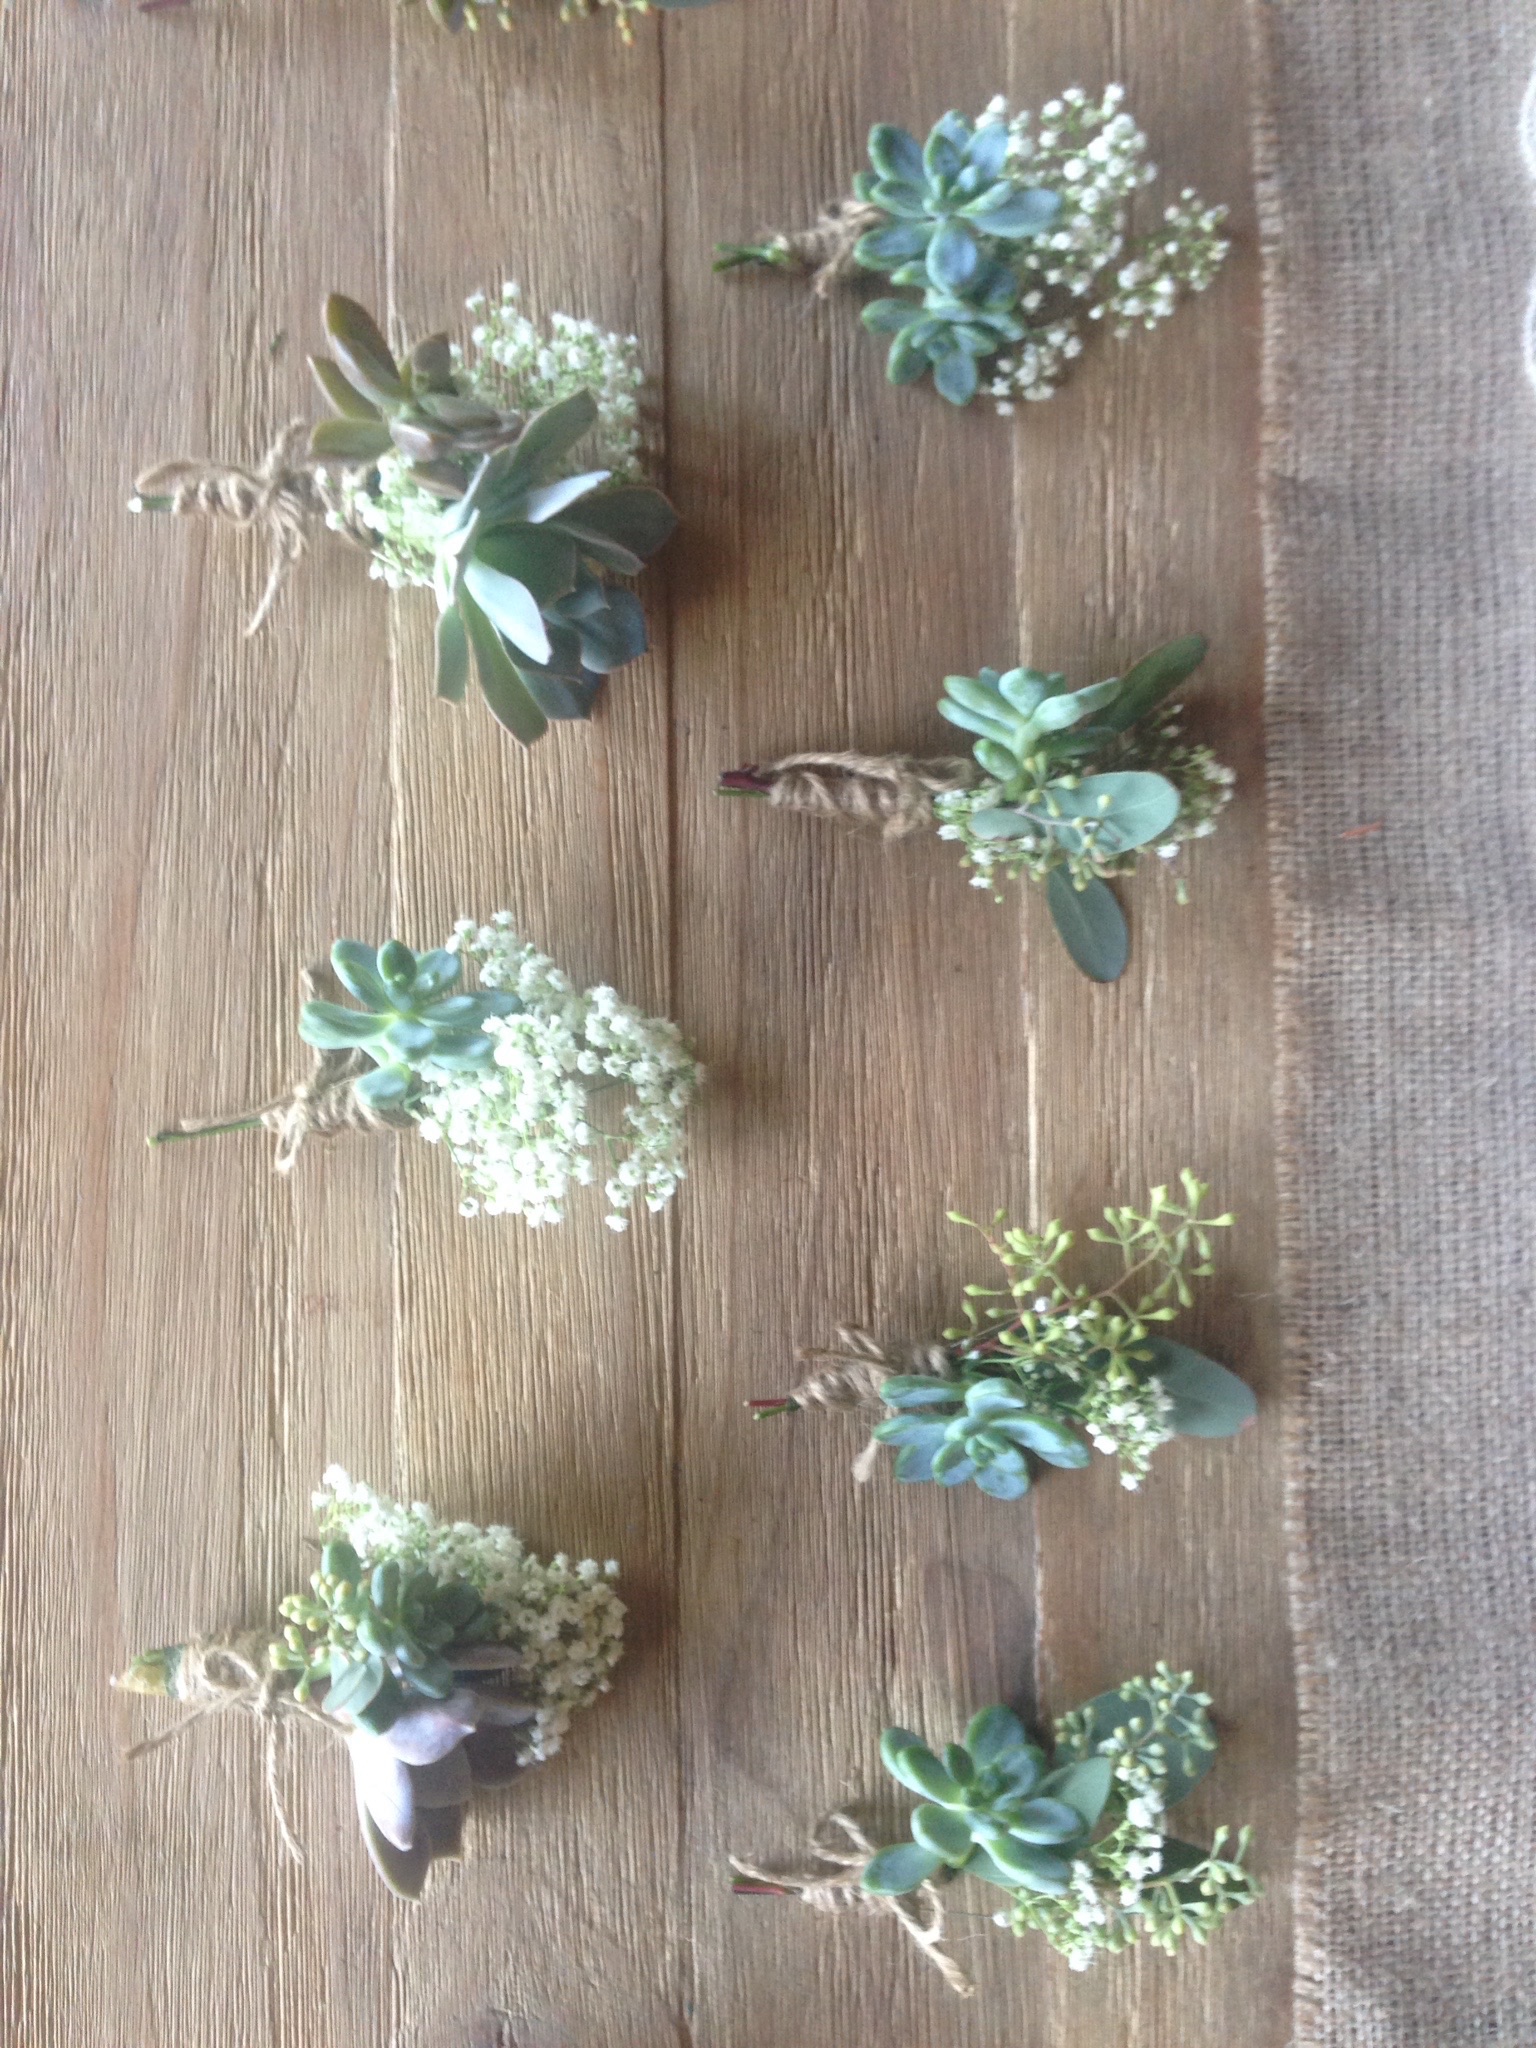
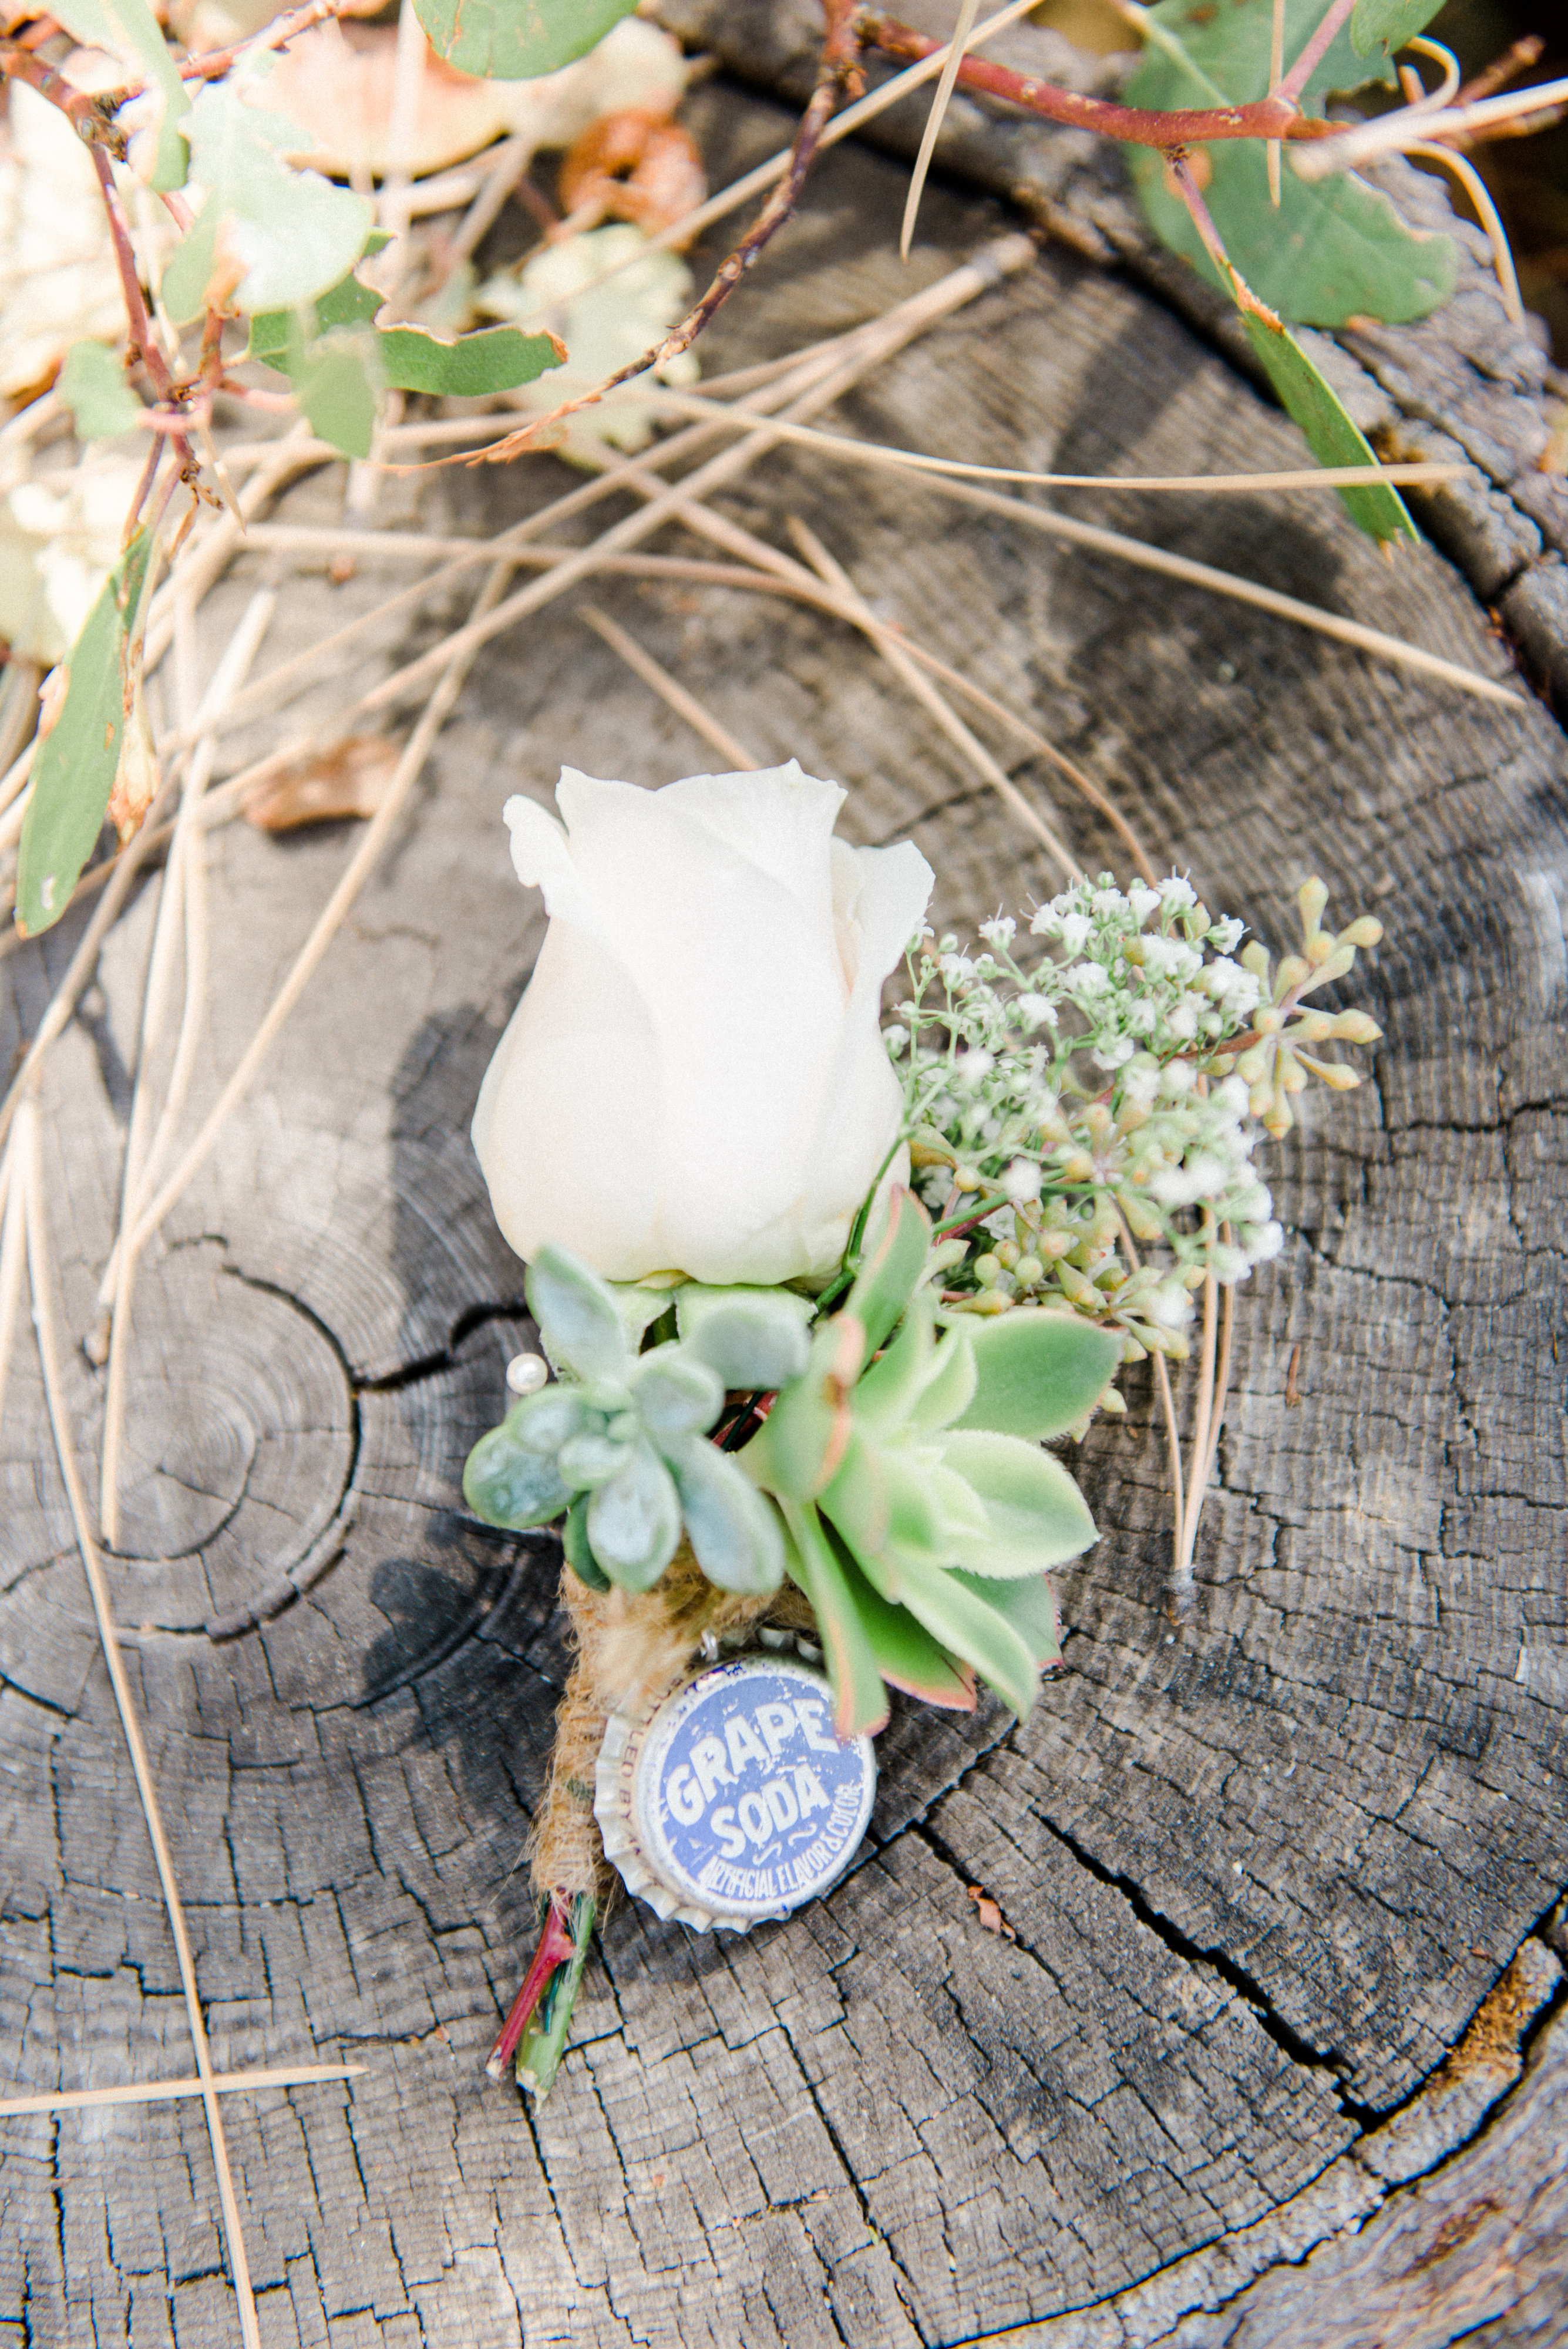
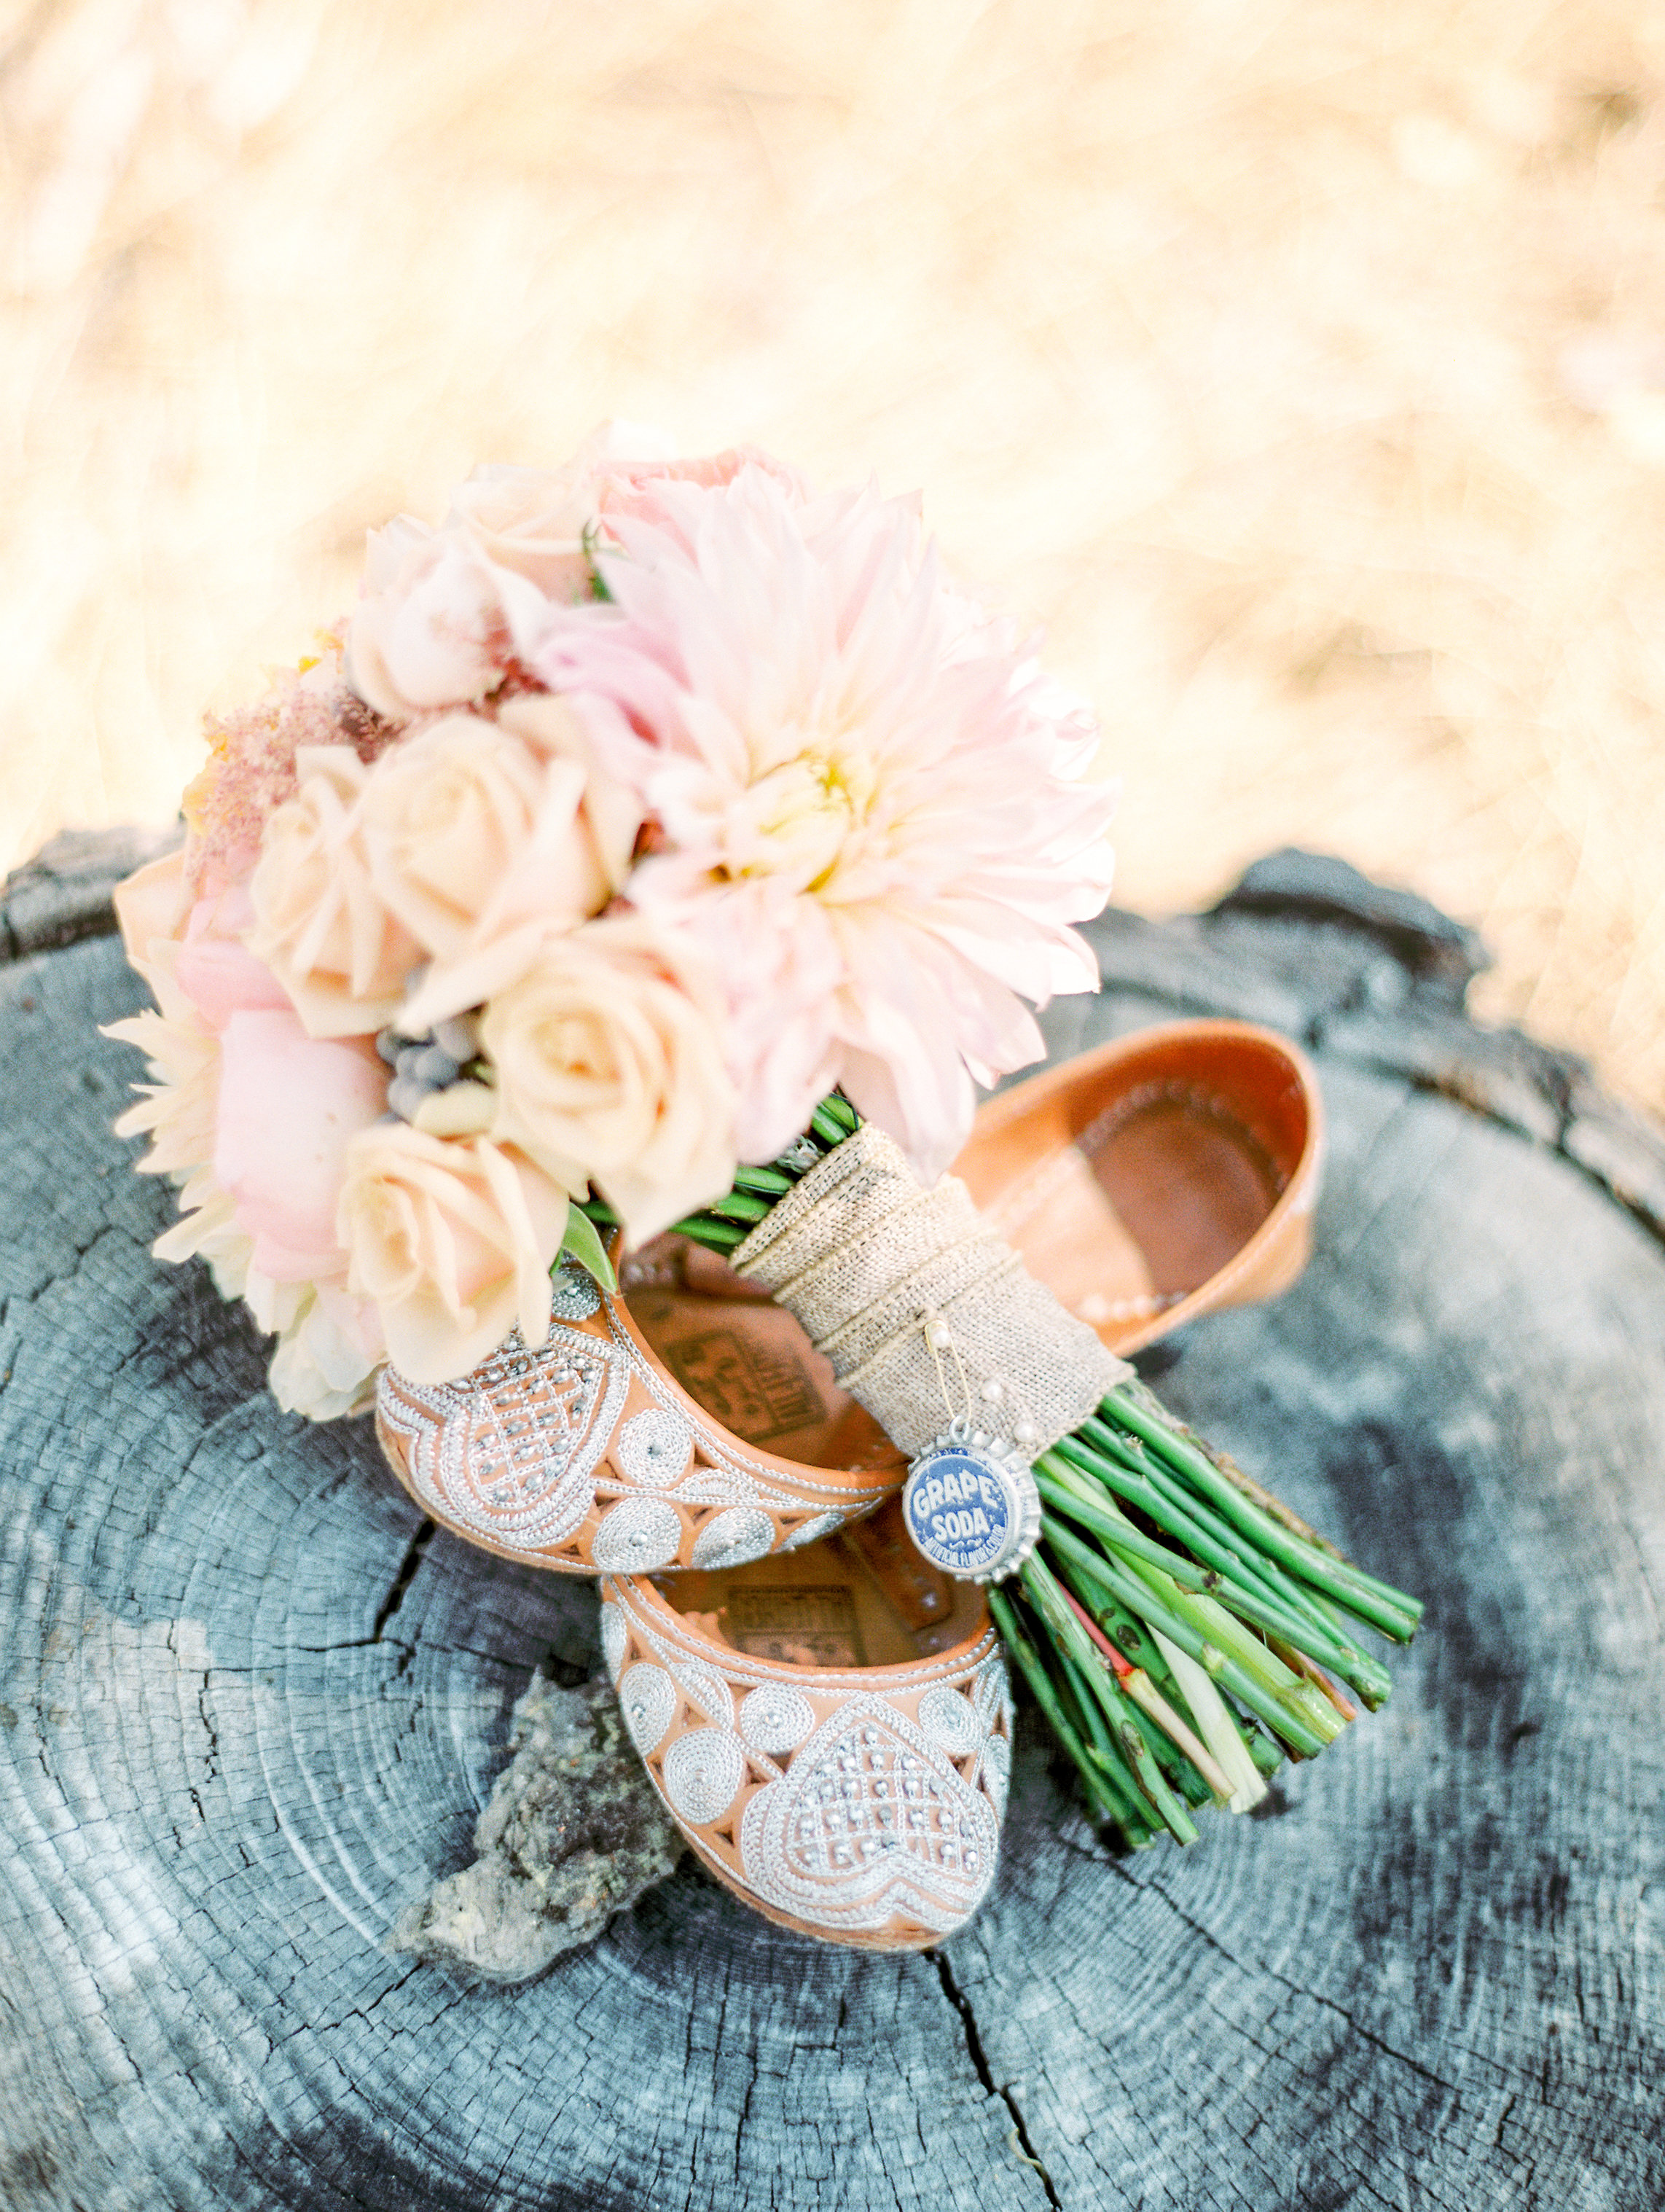
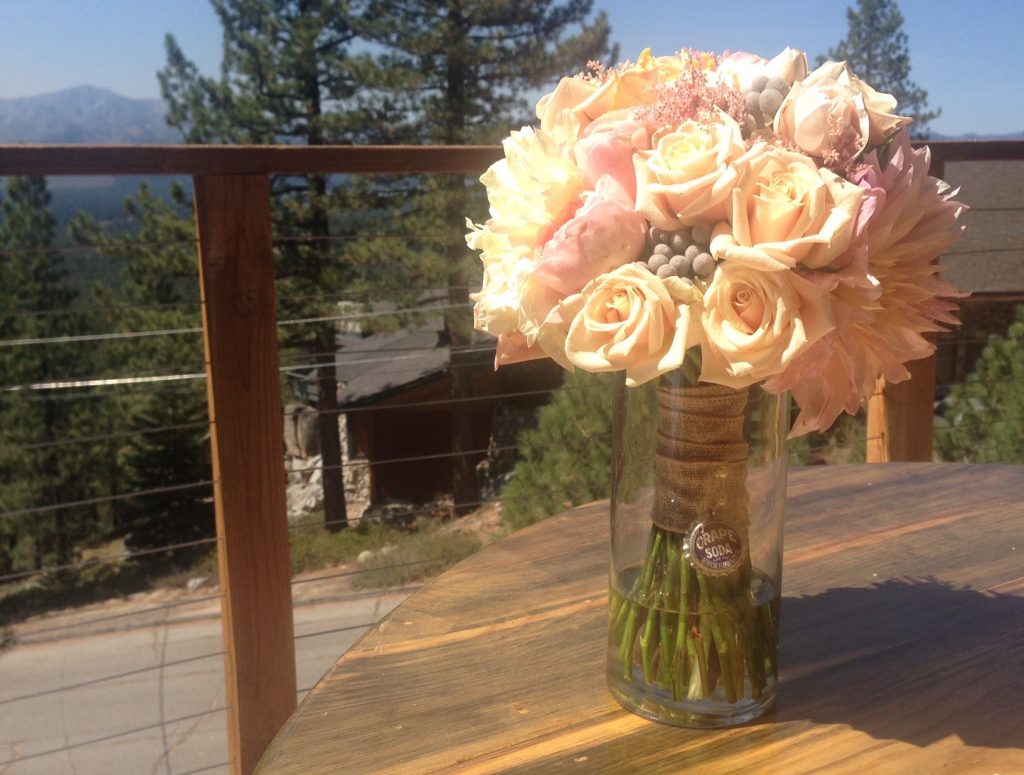
    One of my favorite parts about weddings are the flowers.  I did a lot of research on what kind of flowers I wanted for my wedding.  I wanted to find flowers with pink and peach hues.  I picked out some David Austin garden roses, brunia berries, baby’s breath, and seeded eucalyptus for my wedding flowers.  

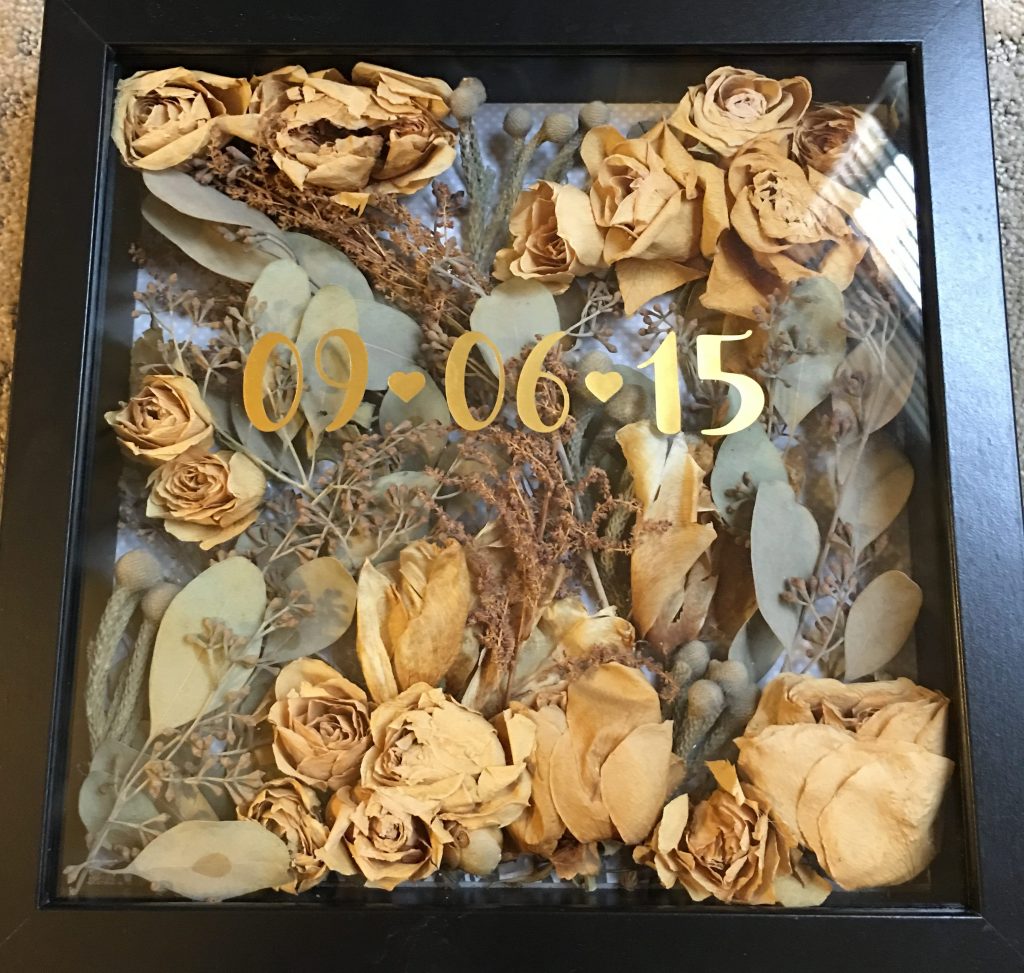
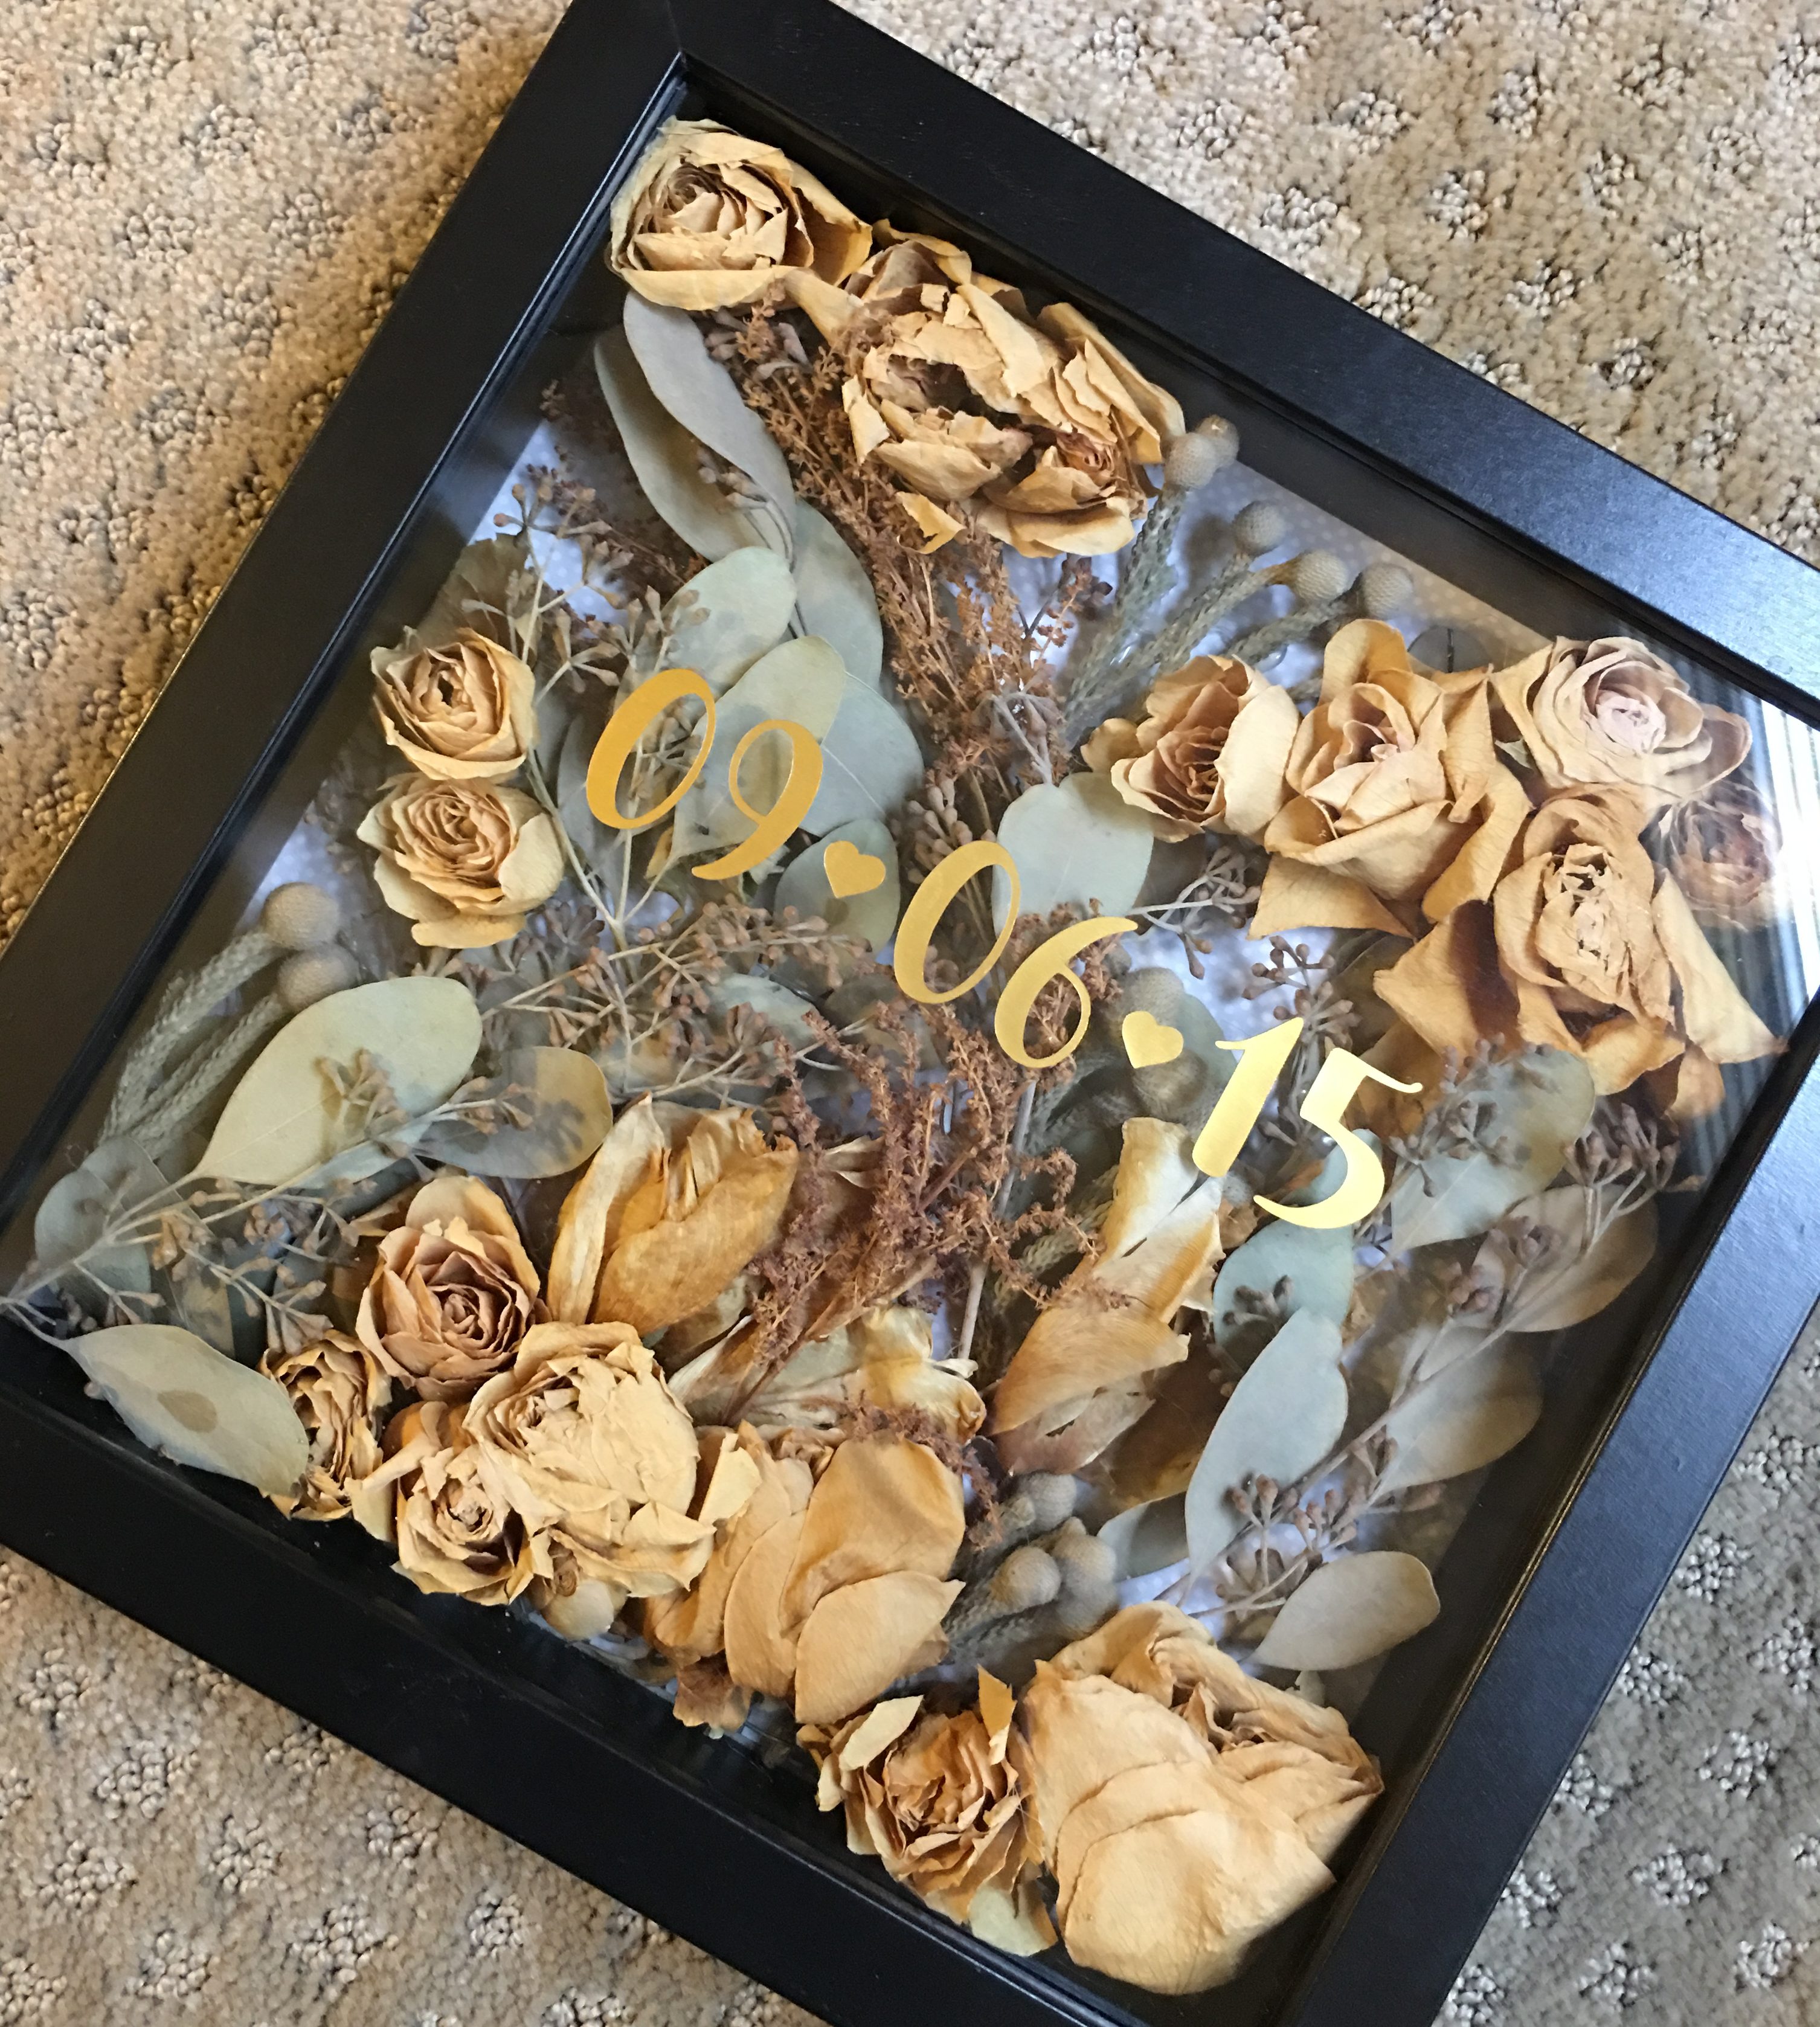
    I wanted a way to preserve these flowers and use them as decor for our future home, so the day after the wedding I dried them in silica gel.  After they were dry, I framed them.  I love how they turned out and every time I look at the frame I think of our wedding date.  It’s definitely an easy and cheap way to preserve your wedding flowers! 

    OVERVIEW

    Cost:  ~$15

    Difficulty: Beginner

    Tools: Hot Glue Gun,  Scissors

    MATERIALS

    (1)  Dried Wedding Flowers:  These can either be from the bridal bouquet or even flower arrangements from the table.  

    IMPORTANT TIPS: 

    • Dry the wedding flowers the day after the wedding before the flowers start wilting.  There are many ways to dry the flowers.  Some hang the flowers upside down. 
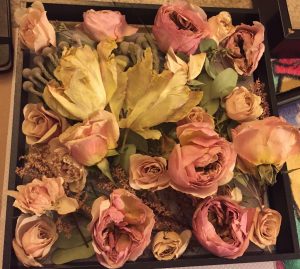
    • I placed the flowers in silica gel.  It really preserved the color of the flowers, though after three years (as you can see in the photo above), the color faded over time.  The seeded eucalyptus dried extremely well so I’m really happy with how that turned out!  If you do use silica gel, shake off all of the silica gel from the dried flowers.  I ended up finding a lot of silica beads in the frame as I was doing the dry layout! 

    (2) Craft Paper (color of your choice):  To be used for the background.  It is recommended to use a lighter color or neutral background so the flowers can stand out. 

    (3) Hot Glue:  For the hot glue gun. 

    (4) FRAME:  I used the 9″ x 9″ Ribba Frame from IKEA.  

    INSTRUCTIONS

    (1) Cut the craft paper to the size of the frame (to be used for the background).

    (2) Trim and cut dried flowers and do a dry layout in the frame.  Take into consideration the depth of the frame to ensure it does not get “smooshed” in the frame (note some of my roses were pressed into the glass frame to get it to fit).  Keep in mind the color of the flowers can fade over time, so try to balance out all of the green tones in the leaves within the frame. 

    (3) After you are satisfied with the dry layout, use the hot glue gun to glue the flowers into place.  Ensure the flowers are attached securely as the frame will be hanging vertically on the wall. 

    (4) OPTIONAL: Using a sticker cutter or stickers of your choice, add your wedding date to the front of the frame.  I used a sticker cutter and gold foil tape.  I added the date three years later and I think it completed the frame.  


  • My Wedding Decorations

    It’s wedding planning season so I thought I’d document some of my favorite DIY elements of our wedding. 

    My husband and I had two wedding events.  We had a small intimate wedding ceremony and dinner in South Lake Tahoe with only 15 guests.  A couple of weeks later, we had a larger informal picnic wedding celebration at a local park. 

    Here are a couple of DIY elements from our wedding: 

    Burlap and Lace Table Runners

    I love the combination of burlap and lace.  I bought the materials (14″ wide Burlap, 9″ wide Ivory Lace Ribbon) in bulk from burlapfabric.com.  Using translucent thread and a sewing machine, I sewed the lace to the burlap down the center.  Since the materials come in one roll, you can make the table runners any length you need! 

    Wooden Initial Signs

    I purchased unfinished 13.5″ wooden letters from Joann.com.  They have a wide variety of font styles and sizes that can be purchased online.  I sanded down the edges with sandpaper (not absolutely required).  You can use any color spray paint to color the wooden letters.  Mine was “Pistachio”.  The “&” sign was painted using ModgePodge and silver glitter.  

    Succulent Boutonnières

    I can’t take credit for making these because they were done by my friends.  I went to the local flea market a month before the wedding and picked out an assortment of baby succulents.  Using floral wire, burlap twine, seeded eucalyptus, and roses from the local grocery store they made this! 

    “Grape Soda” Pins


    I am a huge Disney fan.  I saw these “Grape Soda” keychains at the local flea market and wanted to incorporate them into our wedding.  Back in 2010, we took a trip to Japan and took “sticky” pictures.  I picked my two favorites and attached them to the back of the “Grape Soda” keychains. 

    Door Decorations

    For the South Lake Tahoe Wedding, we rented out a large AirBnB for the weekend.  On each door, I had door decorations with pictures of the guests with the bride / groom! 

    Picnic Wedding Menu

    Using an old roll of black chalkboard paper, chalkboard markers, and two old frames I created the menus for the picnic wedding. 

    Happy wedding planning!

  • Personalized Tote Bags

    I love gifting these personalized tote bags for all types of occasions.  We had a small intimate wedding so I created bags for all of the girls that were attending to use for the entire wedding weekend.  Each bag was personalized with a message that remind me about them.

    They’re great for groceries, the beach or just visiting your own coffee shop.  Here’s some examples of some previous bags that I’ve decorated!

    OVERVIEW

    Cost:  ~$5-10

    Difficulty: Beginner

    Tools: (None)

    MATERIALS

    (1)  Tote or Canvas Bag of your Choice (some examples below):

    (2) Paint Pen, Fabric Pen, or Fabric Paint of your Choice (see comments below for each):

    • Paint Pen:  These come in different tips (fine, medium, etc) depending on the type of design to be applied.  This medium applies smoothly, however keep a Post-It pad next to you to absorb excess paint during use.
    • Fabric Pen:  Great for intricate delicate designs, but will require multiple coats onto the fabric.  I would only recommend using the fabric pen if you have very small details in your design.
    • Fabric Paint:  I prefer the paint pen or the fabric pen over the fabric paint.  Sometimes the fabric paint is not applied to the material as easily.  Watch your hands as this requires squeezing the bottle.

    (3) Cardboard Cutout (to fit inside of Tote bag)

    INSTRUCTIONS

    (1) Insert cardboard cutout into tote bag in order to prevent paint from spreading to the other side.

    (2) Personalize and decorate tote bag.

    (3) Let Dry prior to use.


    Happy crafting!  If you have any questions, let me know!  đź™‚